
Manage transactions
Perform effective transaction management.
This page describes the functionality of managing transactions.
Approve and reject transactions
You can approve and reject transactions:
- In the Dashboard, navigate to the Transactions and Travel Rule section and open the list of all transactions.
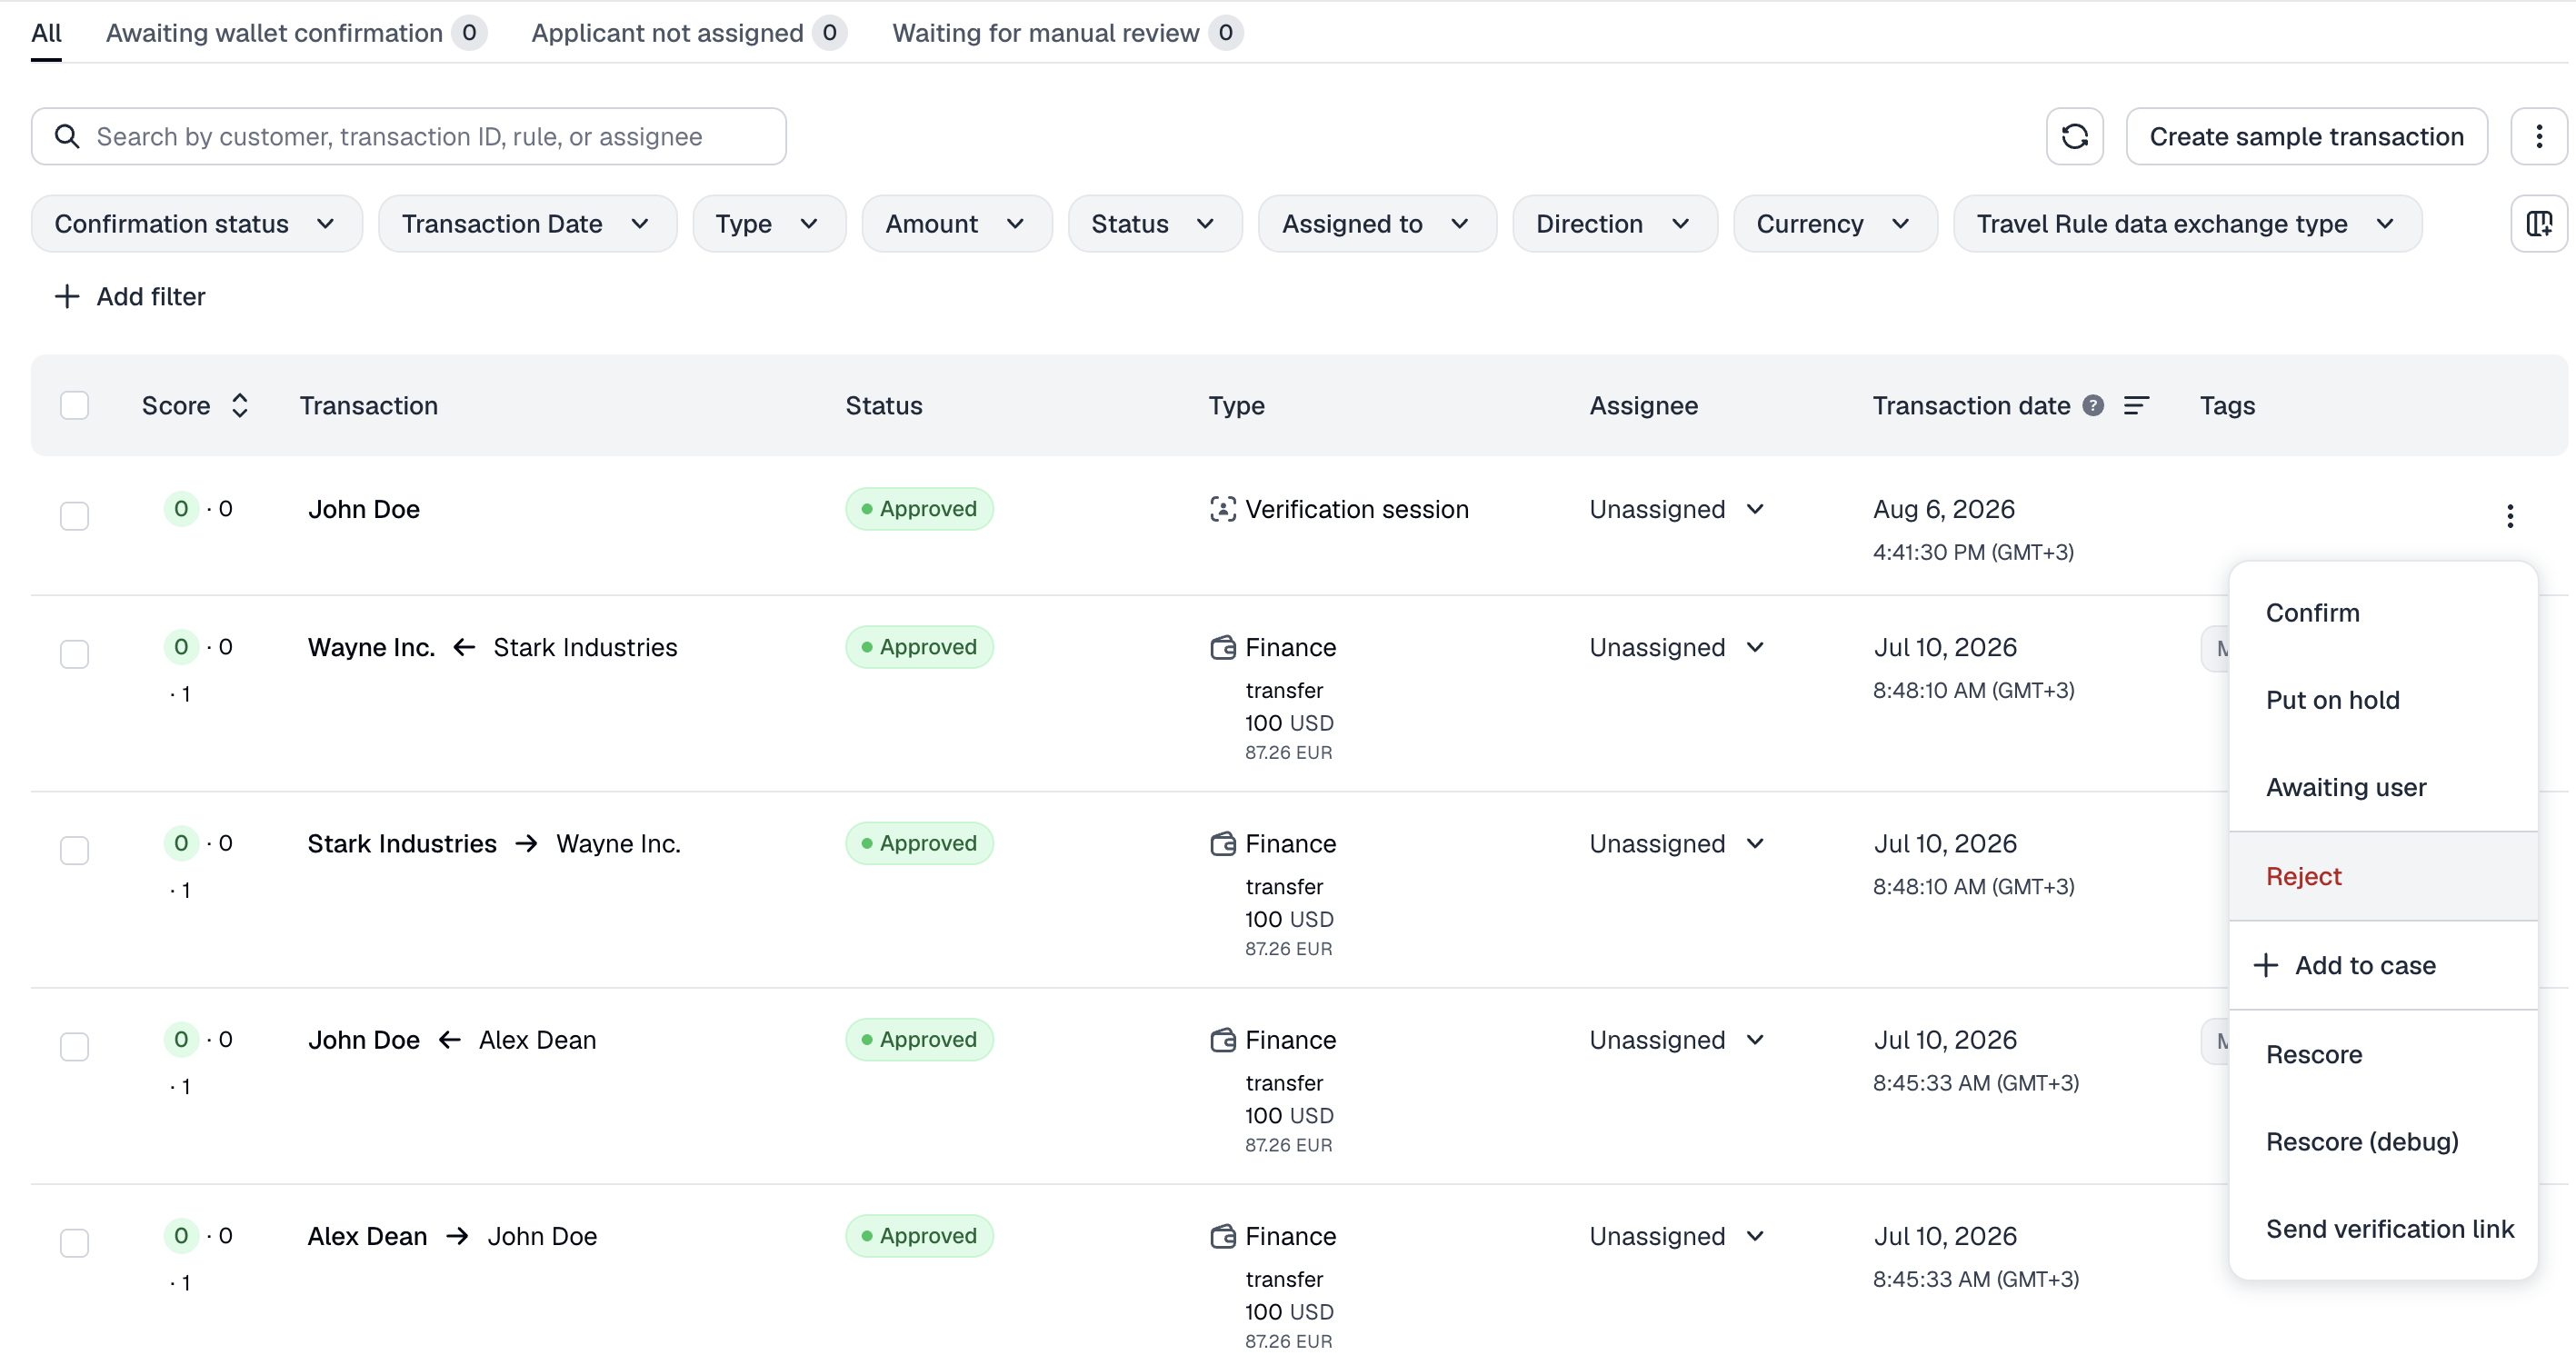
- Find transactions that you want to approve or reject and from the menu on the right, select Approve or Reject.
When you approve or reject a transaction manually, the decision is confirmed automatically. This action requires the Manage TM transactions - Decisions permission.
Alternatively, you can use this API method.
Confirm transactions
You can mark transactions as Confirmed and remove them from the queue.
To confirm transactions:
- In the Dashboard, navigate to the Transactions and Travel Rule section and open the list of all transactions.
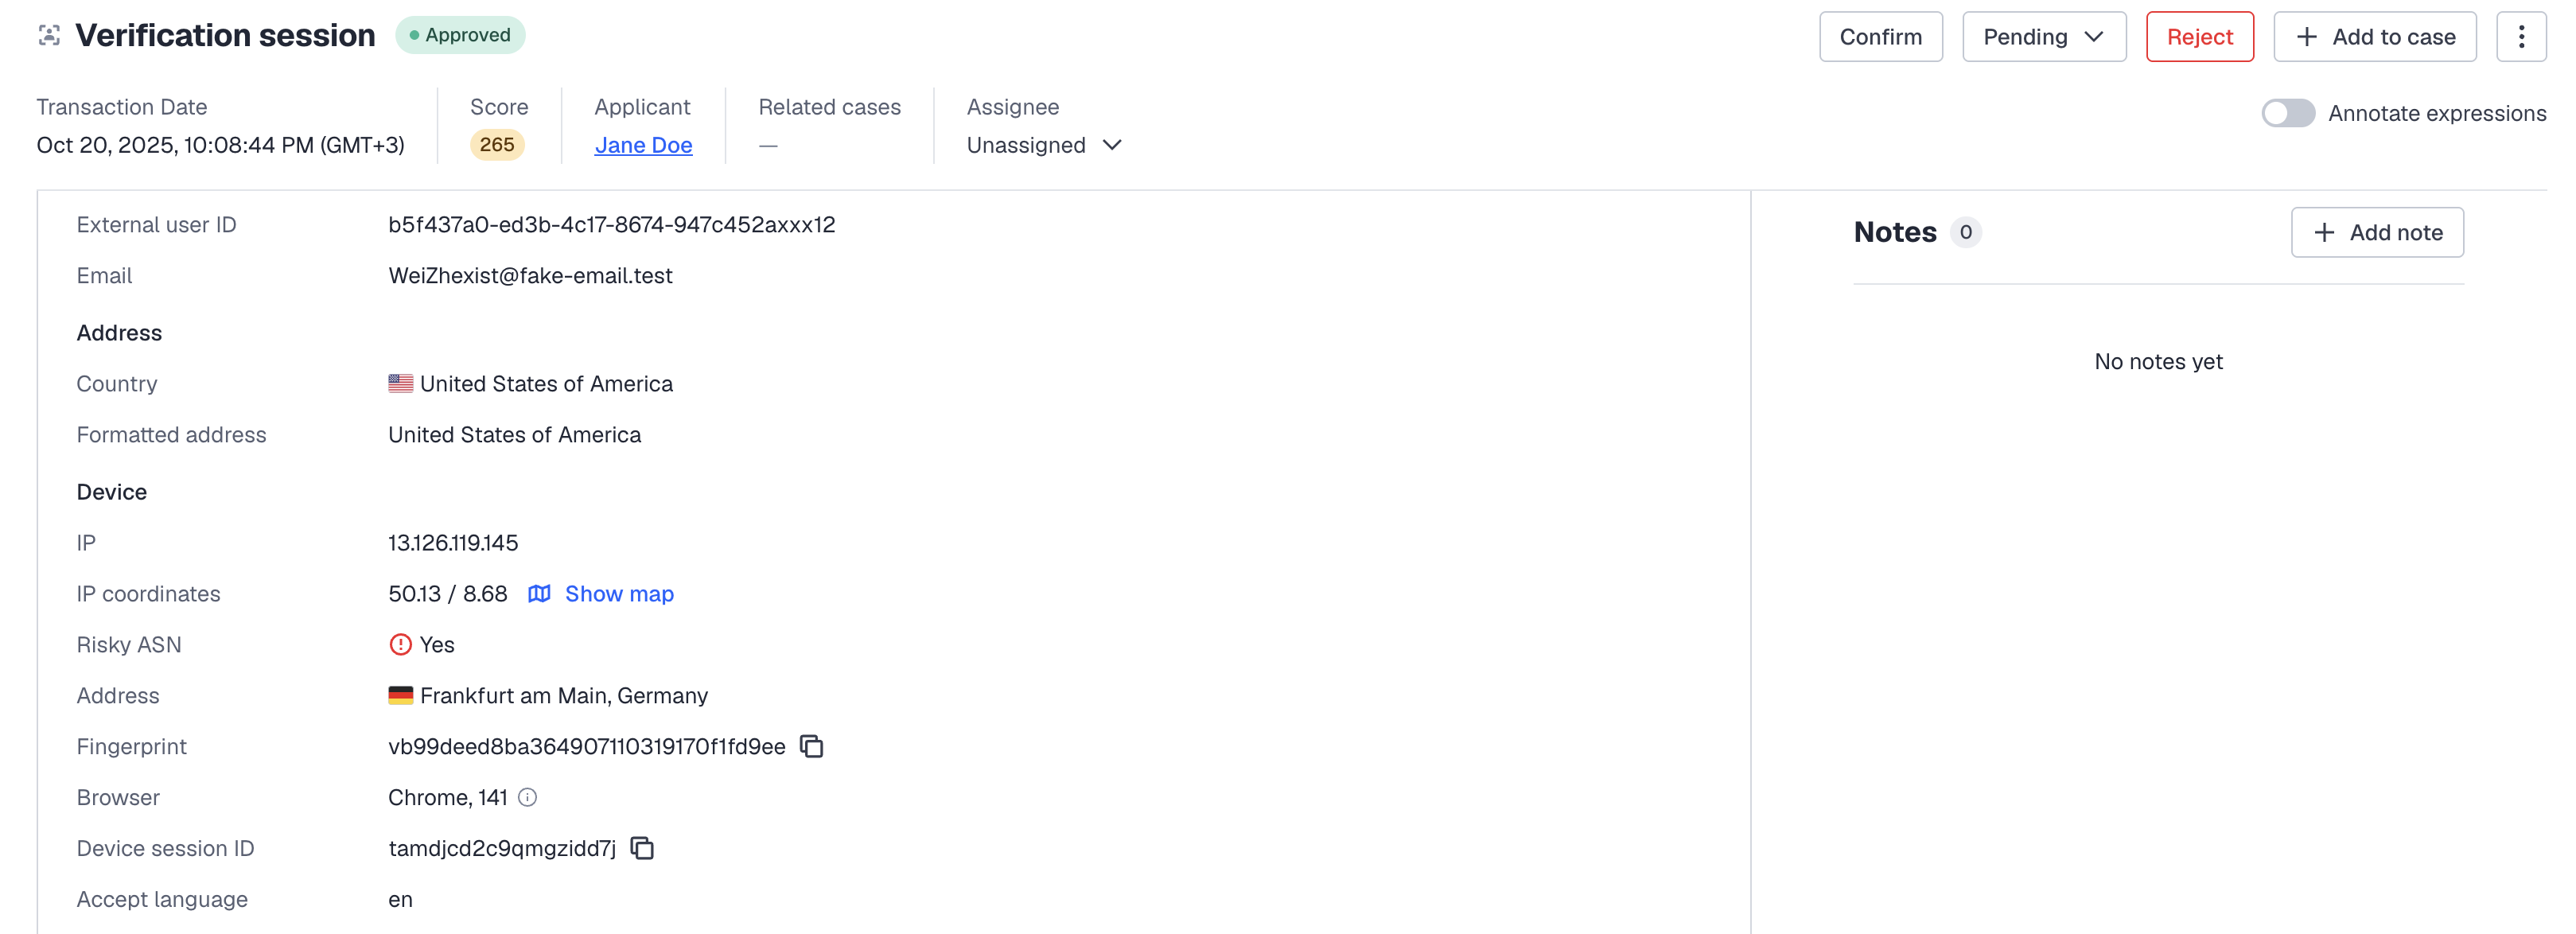
- Find transactions that you want to confirm and select Confirm.
This action requires the Manage TM transactions - Decisions permission.
Note
- This option is available only for transactions that have been scored automatically and are not yet confirmed.Since a manual approve or reject is confirmed automatically, Confirm only appears on transactions decided automatically by your rules that still need a person to confirm the outcome.
Assign transactions to compliance officers
You can assign transactions to compliance officers.
To assign transactions:
- In the Dashboard, navigate to the Transactions and Travel Rule section and open the list of all transactions.
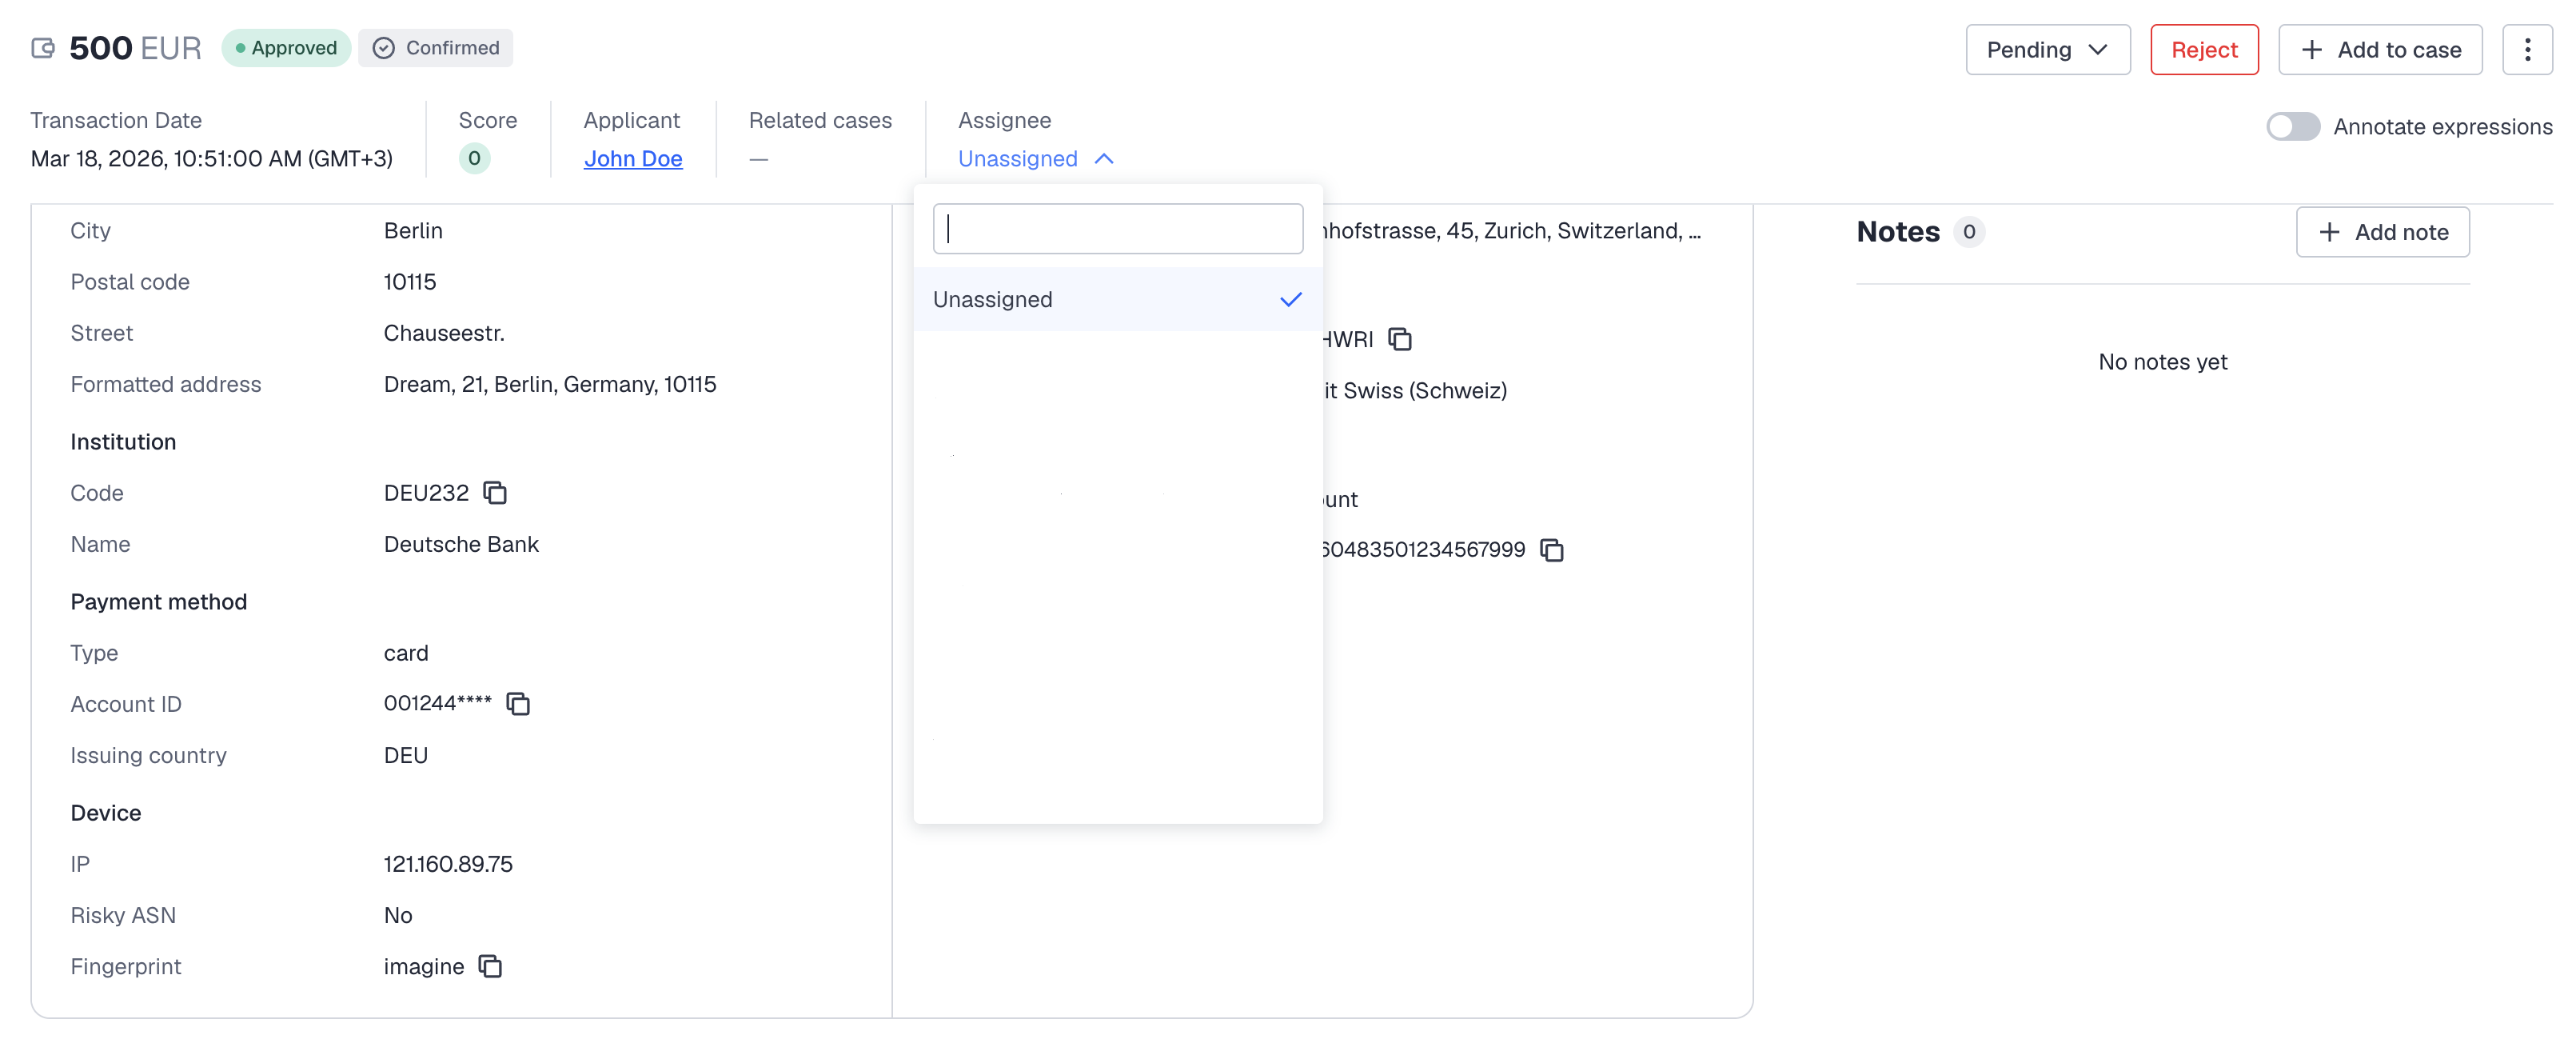
- Find transactions that you want to assign and select the assignee either from the Assignee drop-down list in the transaction table or directly in the transaction profile.
Once assigned, the transaction will appear in the Assigned to me queue that belongs to the selected officer. Only the assigned officer — or anyone, once the transaction is unassigned — can confirm it.
This action requires the Manage TM transactions - Review permission.
Suspend transactions
You can suspend transactions until certain applicant information is received, for example, you are waiting for a cryptocurrency exchange to confirm the counterparty data, the applicant passes the Liveness & Face match check, or provides the requested documents.
To suspend transactions:
- In the Dashboard, navigate to the Transactions and Travel Rule section and open the list of all transactions.
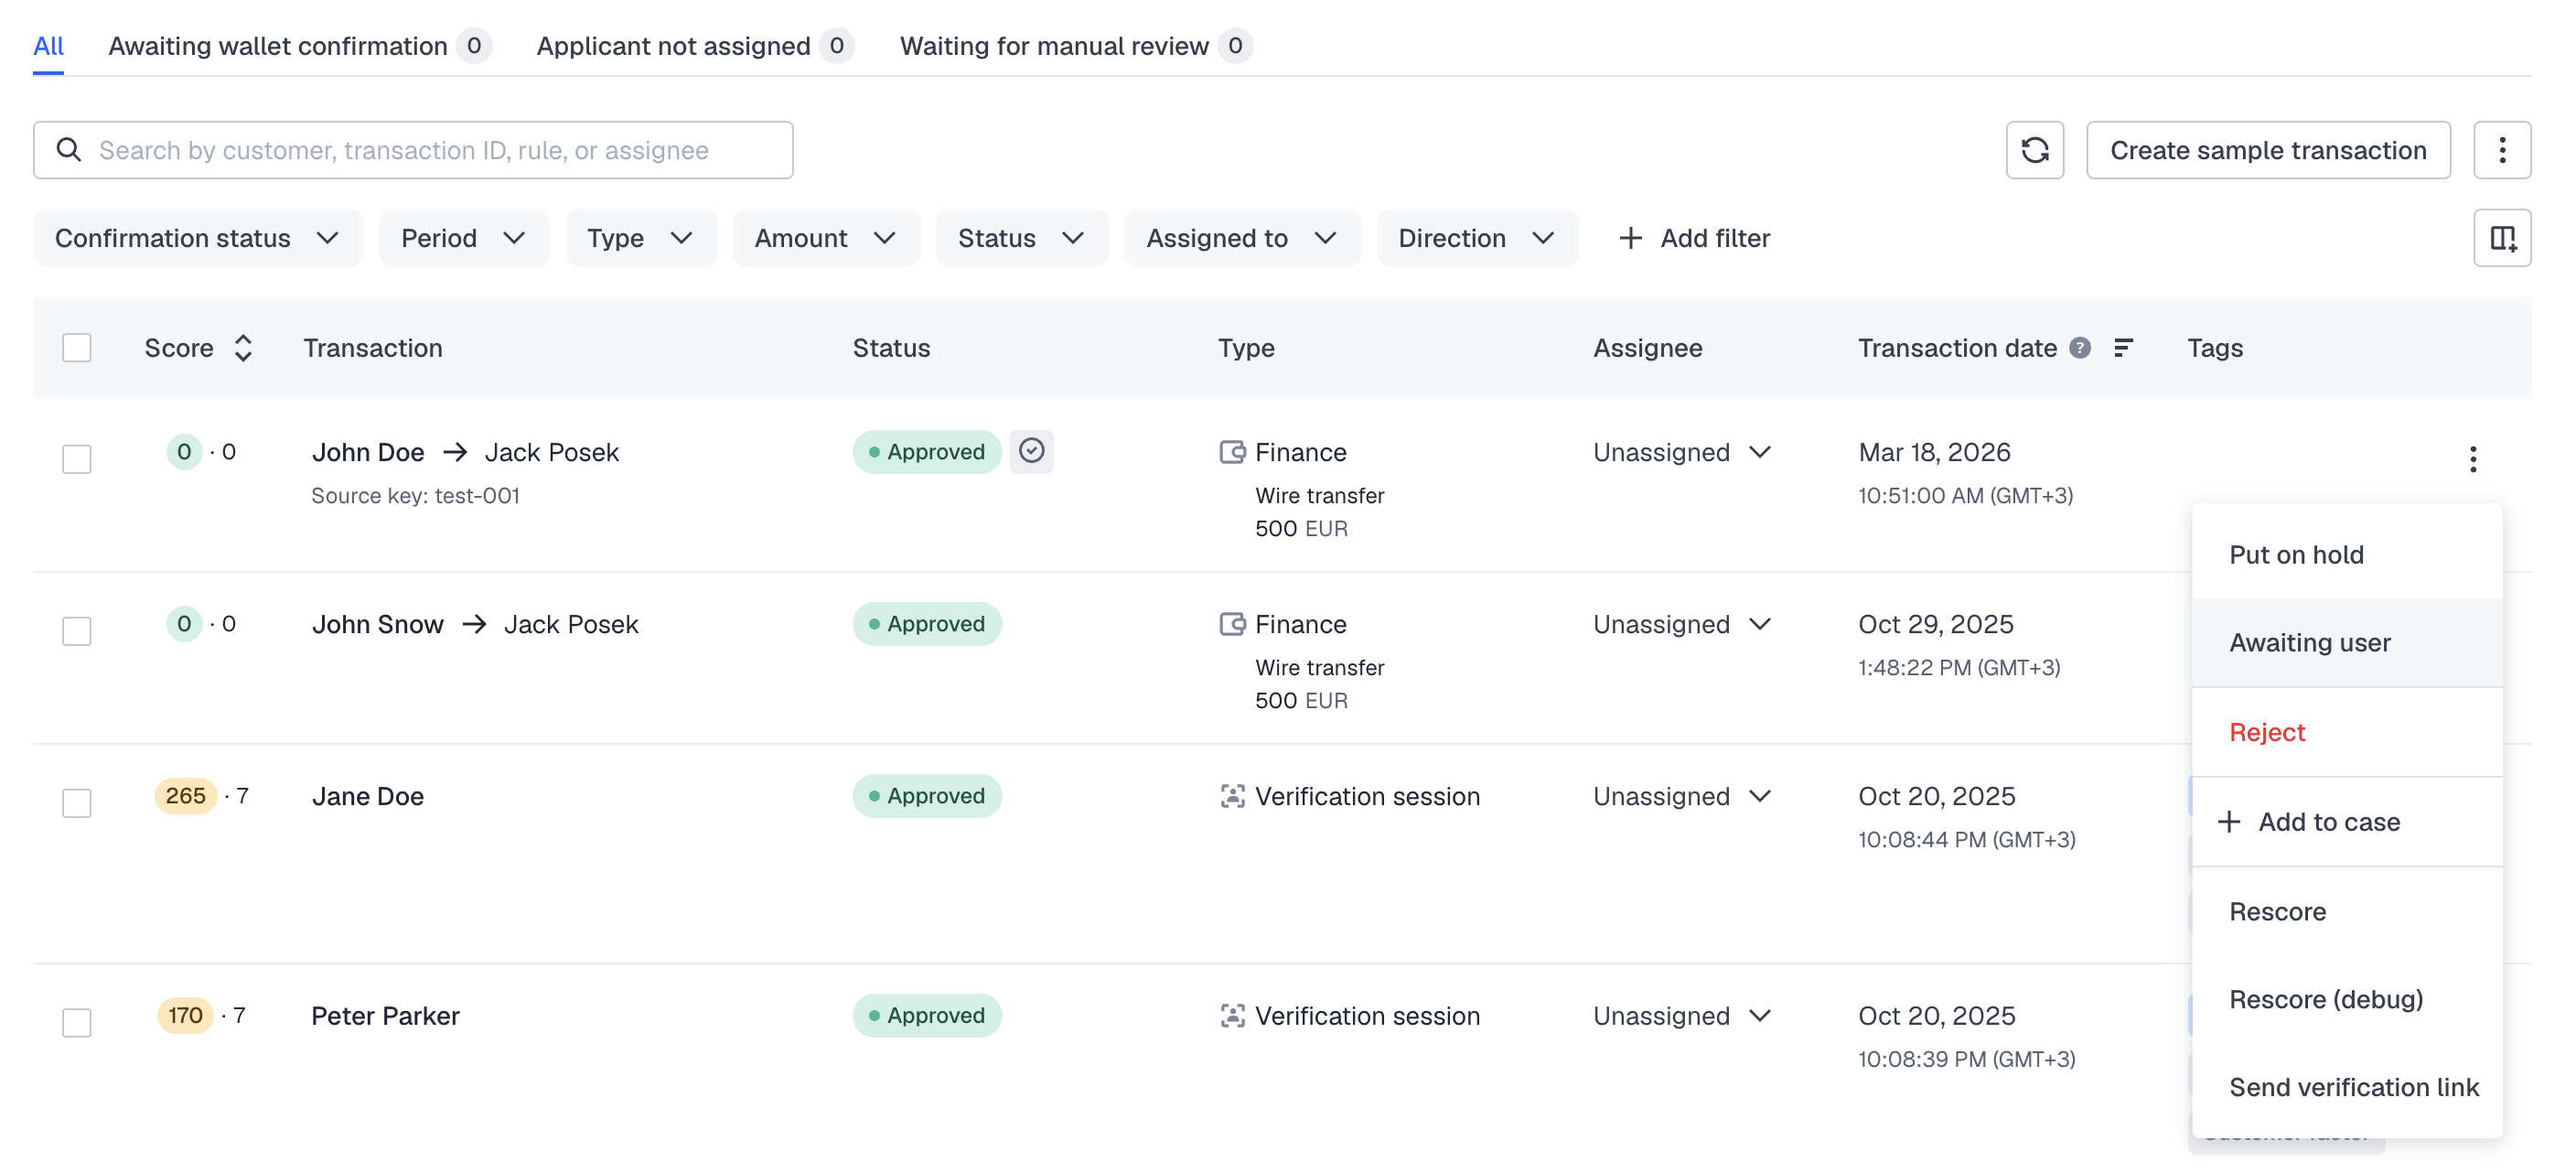
- Find transactions that you want to suspend and from the menu on the right, select Awaiting user.
This moves the transaction to the Awaiting user status, marking it as waiting on the applicant.
This action requires the Manage TM transactions - Decisions permission.
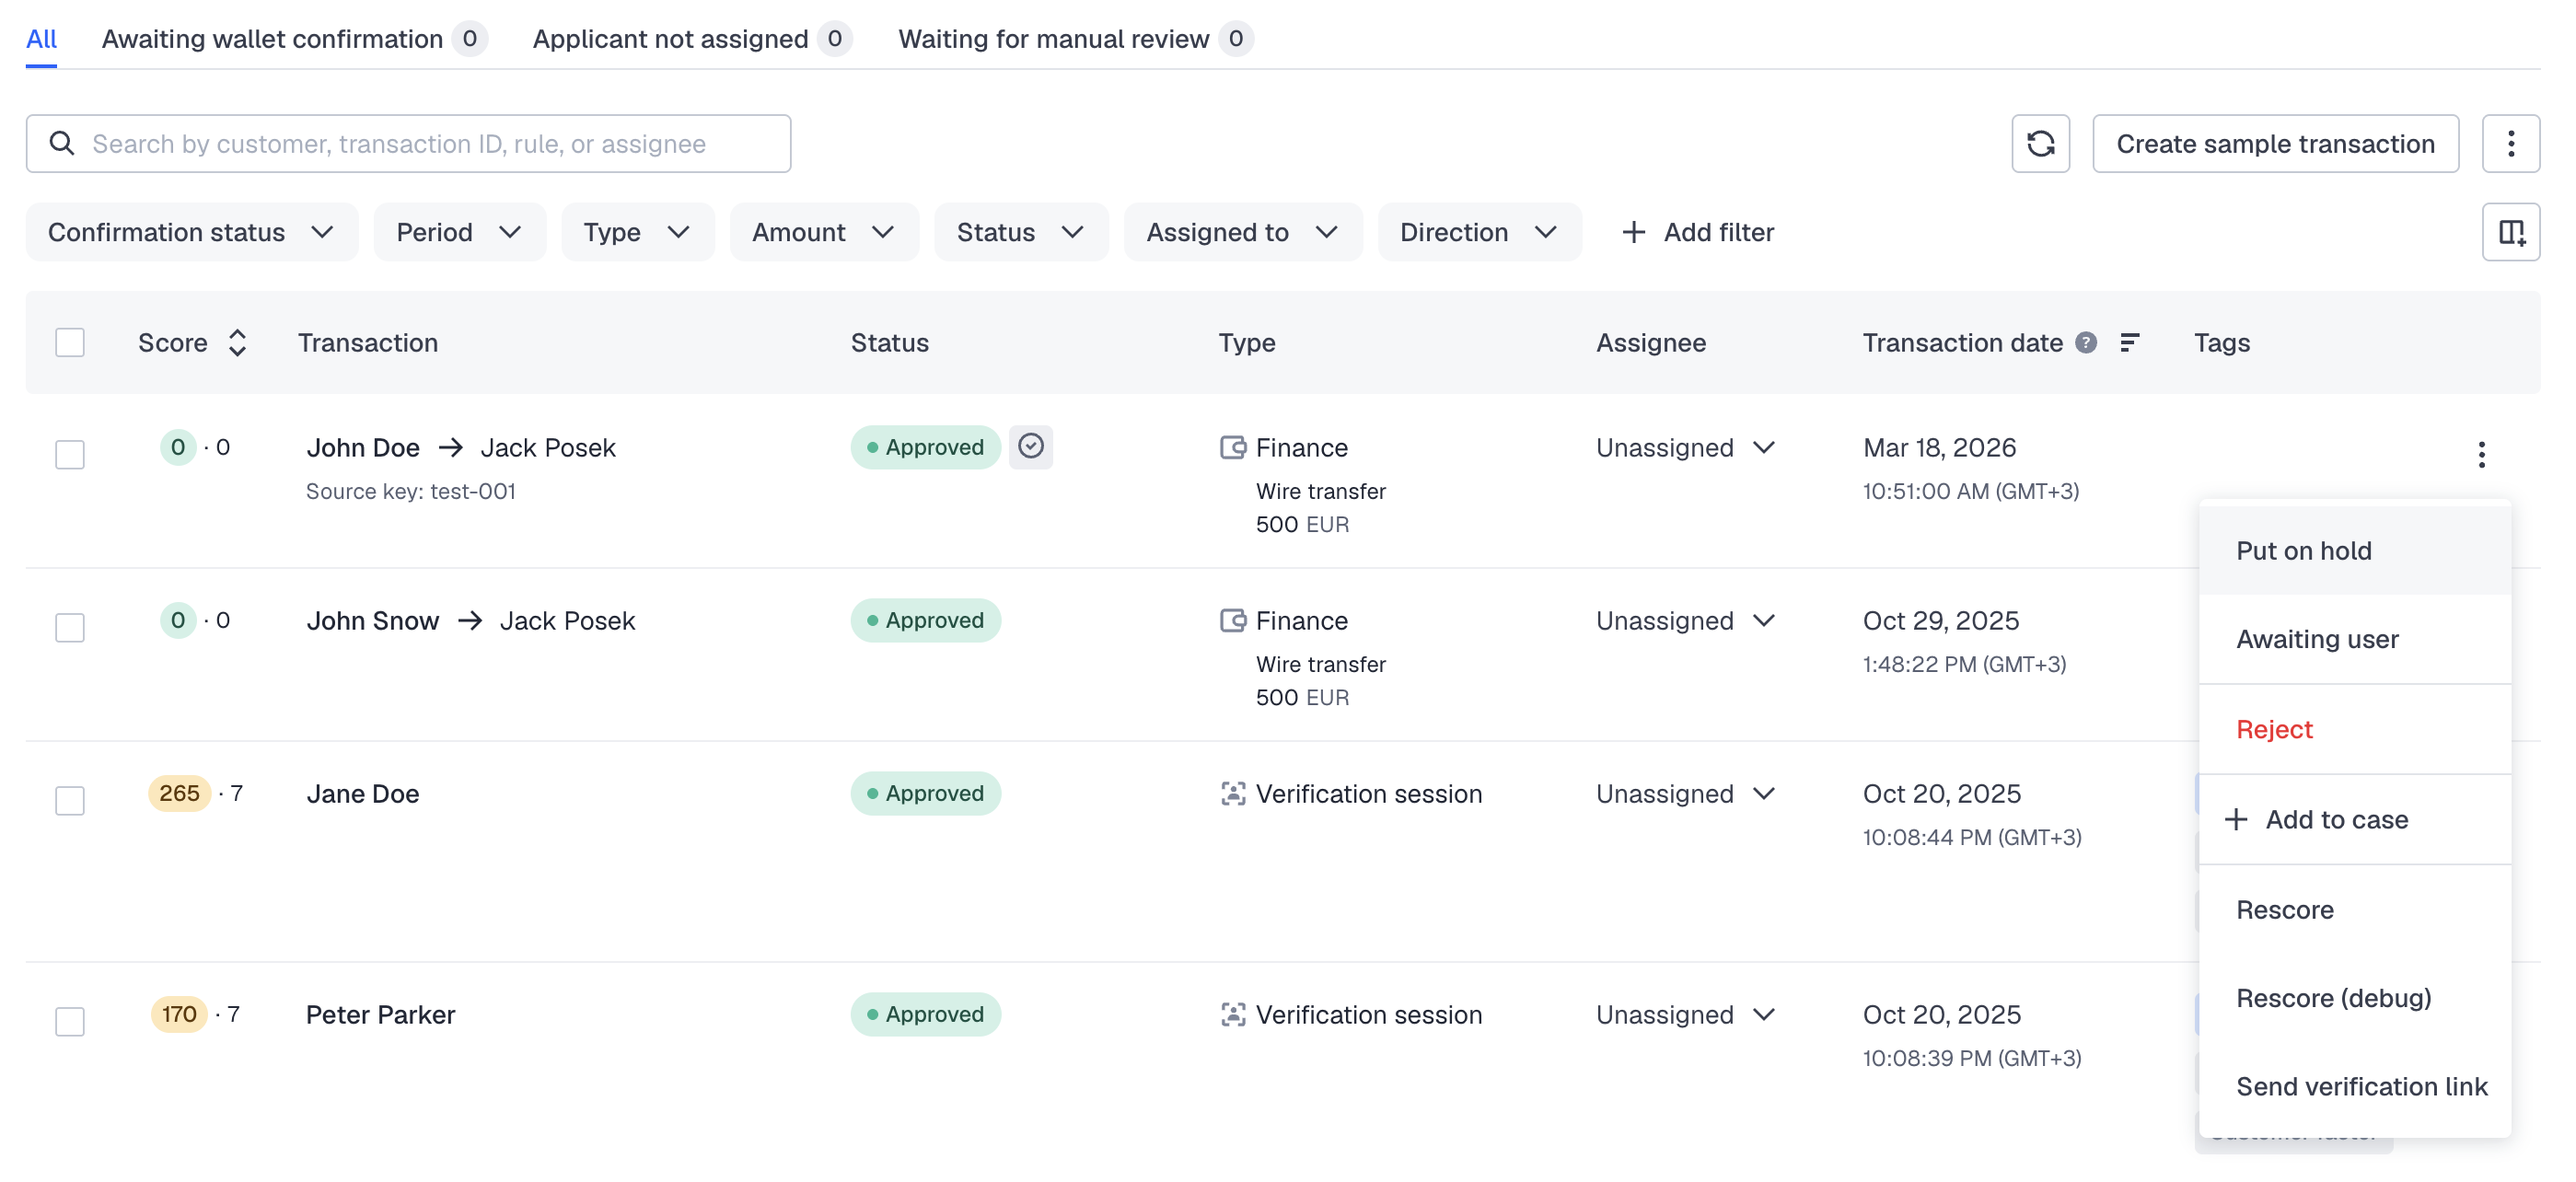
Put transactions on hold
You can put transactions on hold in case you need extra time or assistance to provide the final verdict.
To put transactions on hold:
- In the Dashboard, navigate to the Transactions and Travel Rule section and open the list of all transactions.
- Find transactions that you want to put on hold and from the menu on the right, select Put on hold.
This moves the transaction to the Requires action status so it stays in the review queue for a manual decision.
This action requires the Manage TM transactions - Decisions permission.
Rescore transactions
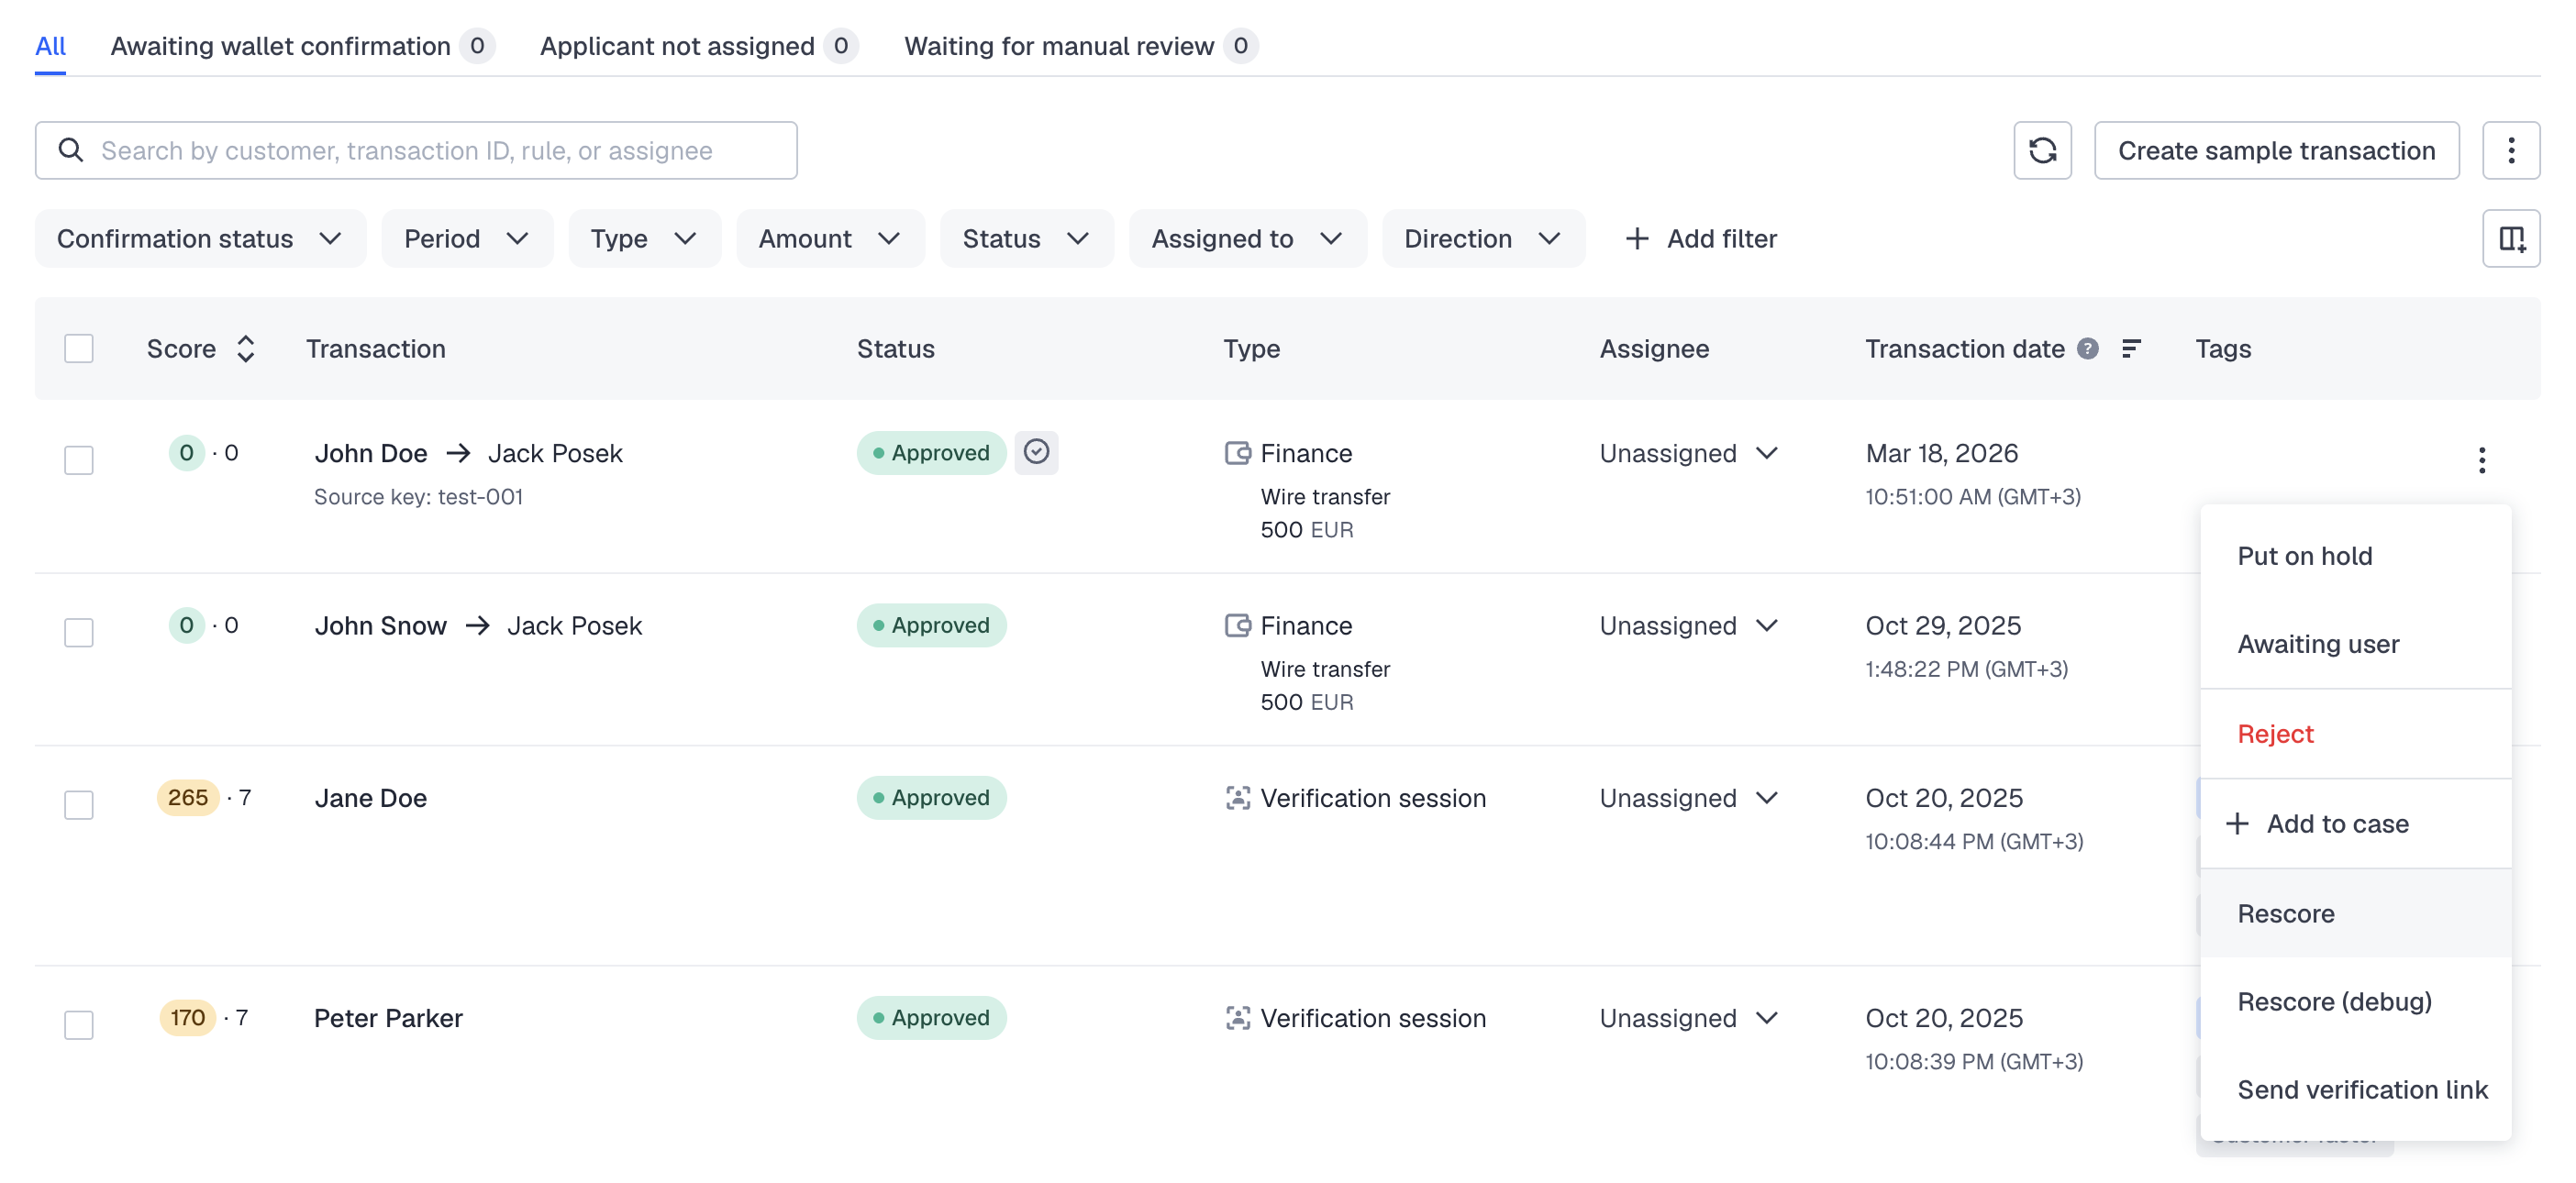
You can recalculate the transaction risk score based on the additional information or adjusted rules.
To rescore transactions:
- In the Dashboard, navigate to the Transactions and Travel Rule section and open the list of all transactions.
- Find transactions that you want to rescore and from the menu on the right, select Rescore.
- This action requires the Manage TM transactions - Decisions permission.
- Alternatively, you can use this API method.
Add transaction to case
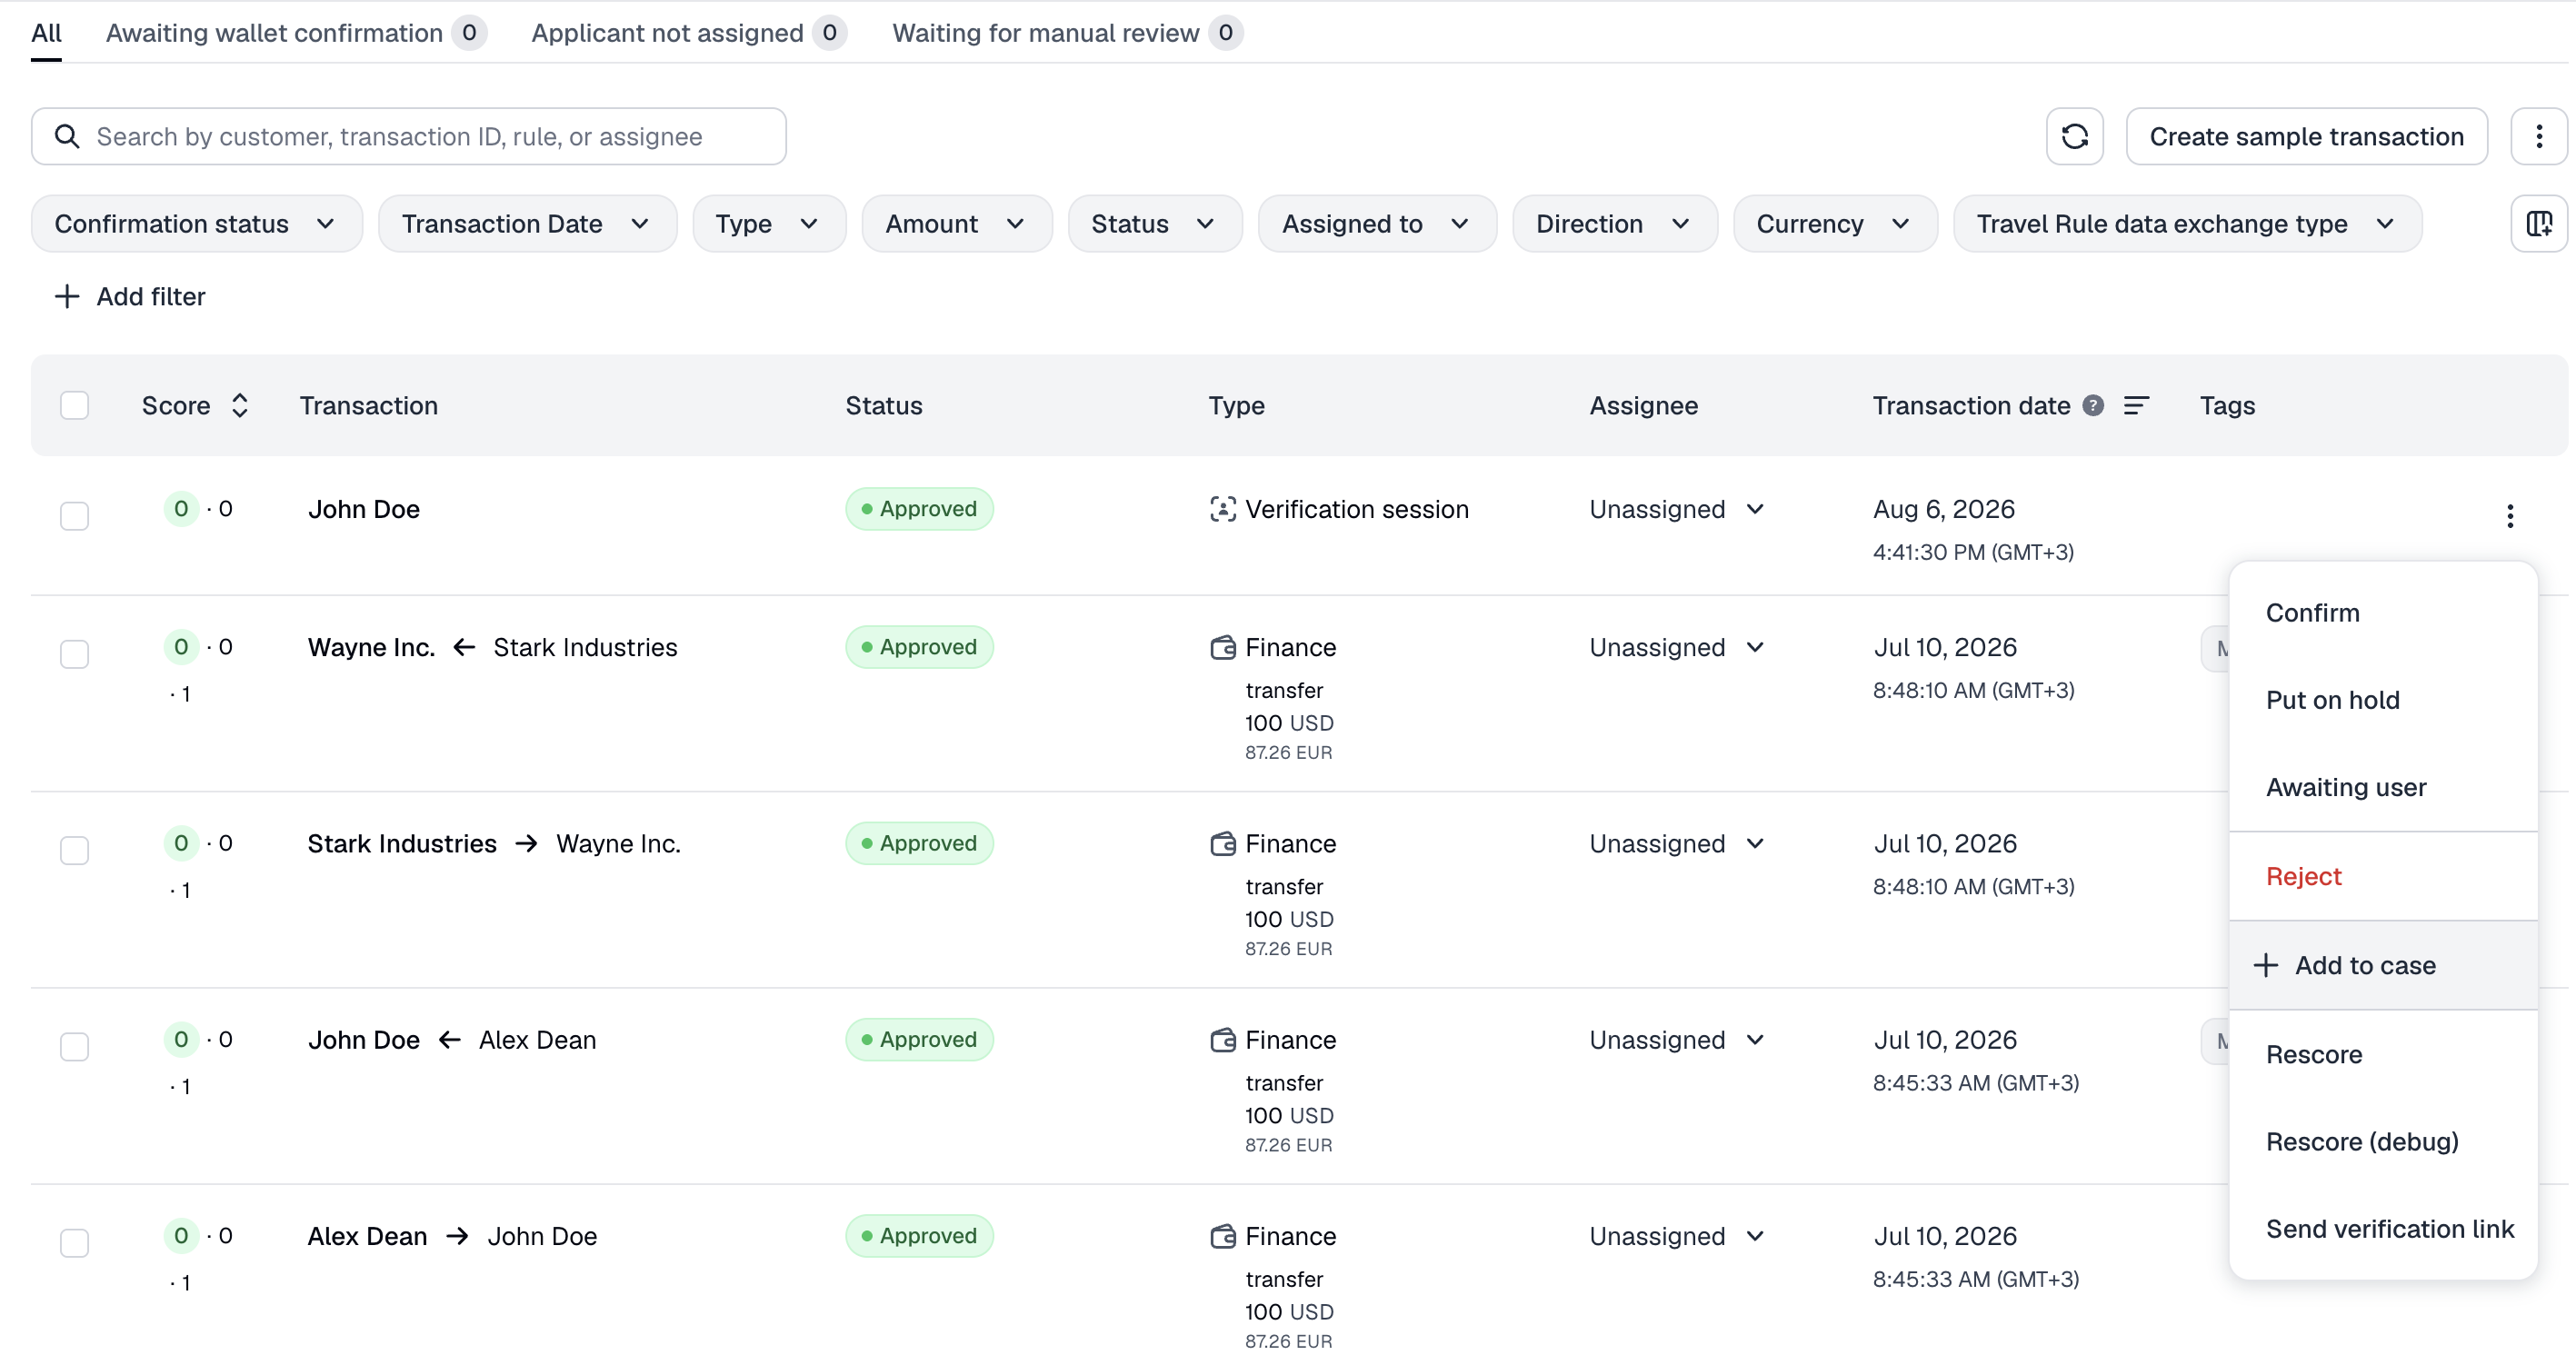
You can add a transaction to a case in Case Management without changing the transaction status.
To add a transaction to a case:
- In the Dashboard, navigate to the Transactions and Travel Rule section and open the list of all transactions.
- Open the transaction and select Add to case.
- Select an existing case or create a new one.
This action requires the View case management permission.
View transaction summary report
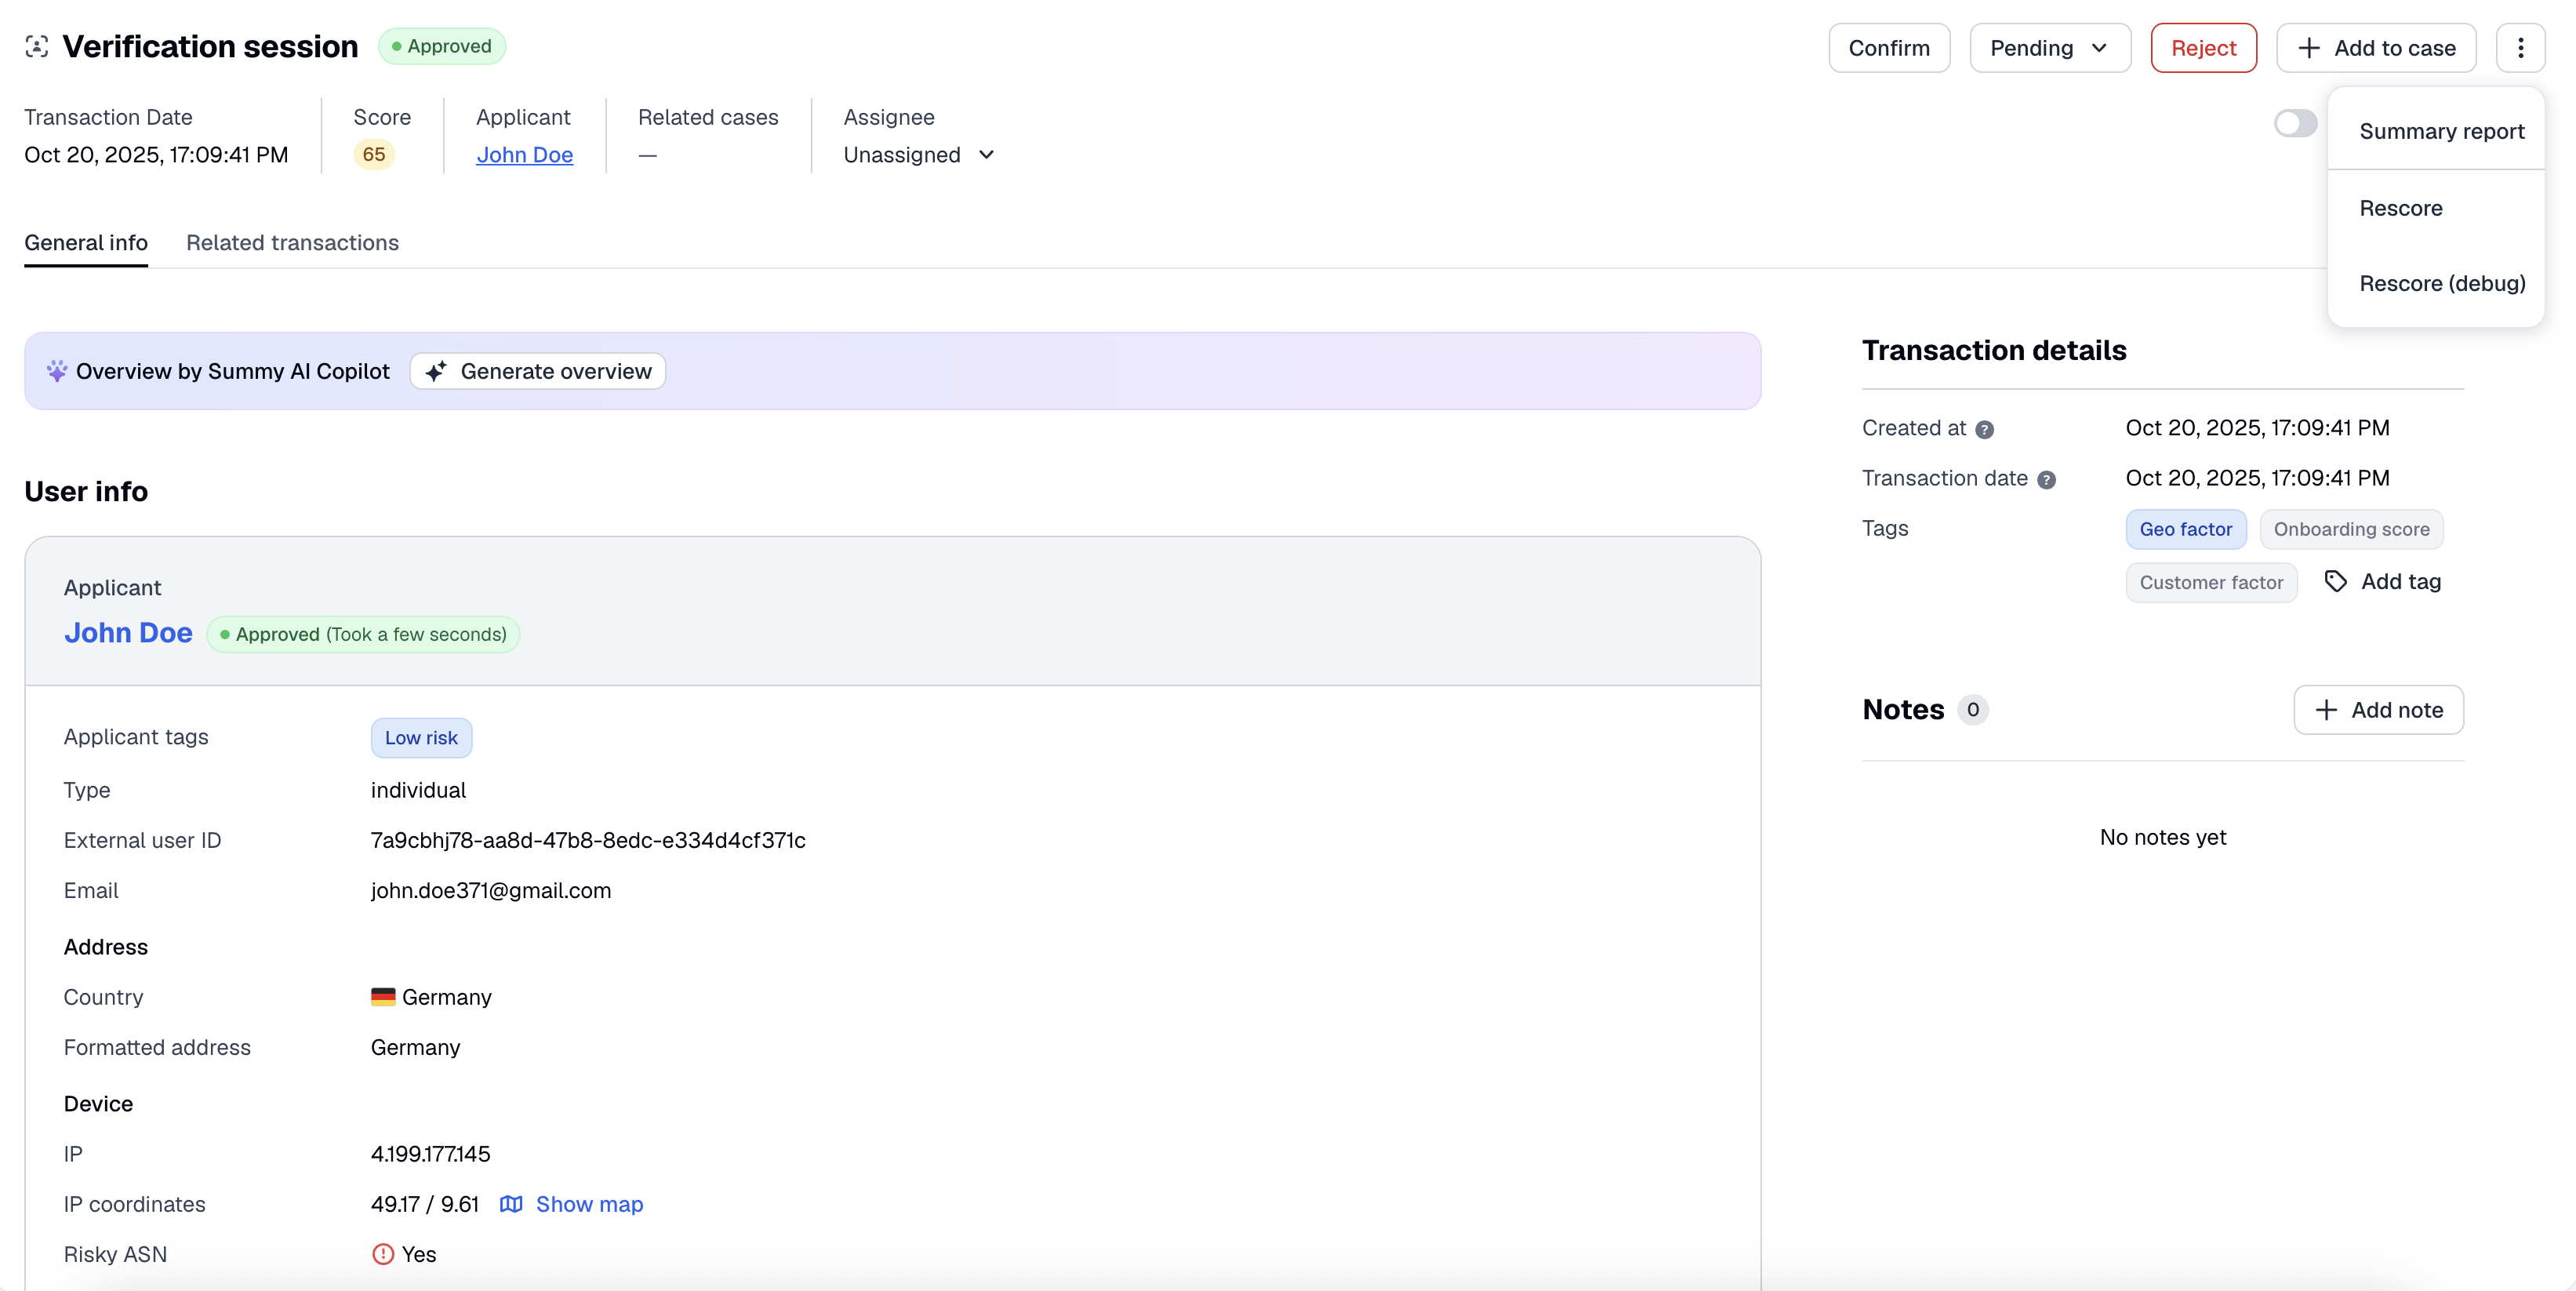
You can open a PDF summary of the transaction in a new tab.
To view the summary report:
- In the Dashboard, navigate to the Transactions and Travel Rule section and open the list of all transactions.
- Open the transaction and select Summary report.
This action requires the View TM transactions permission.
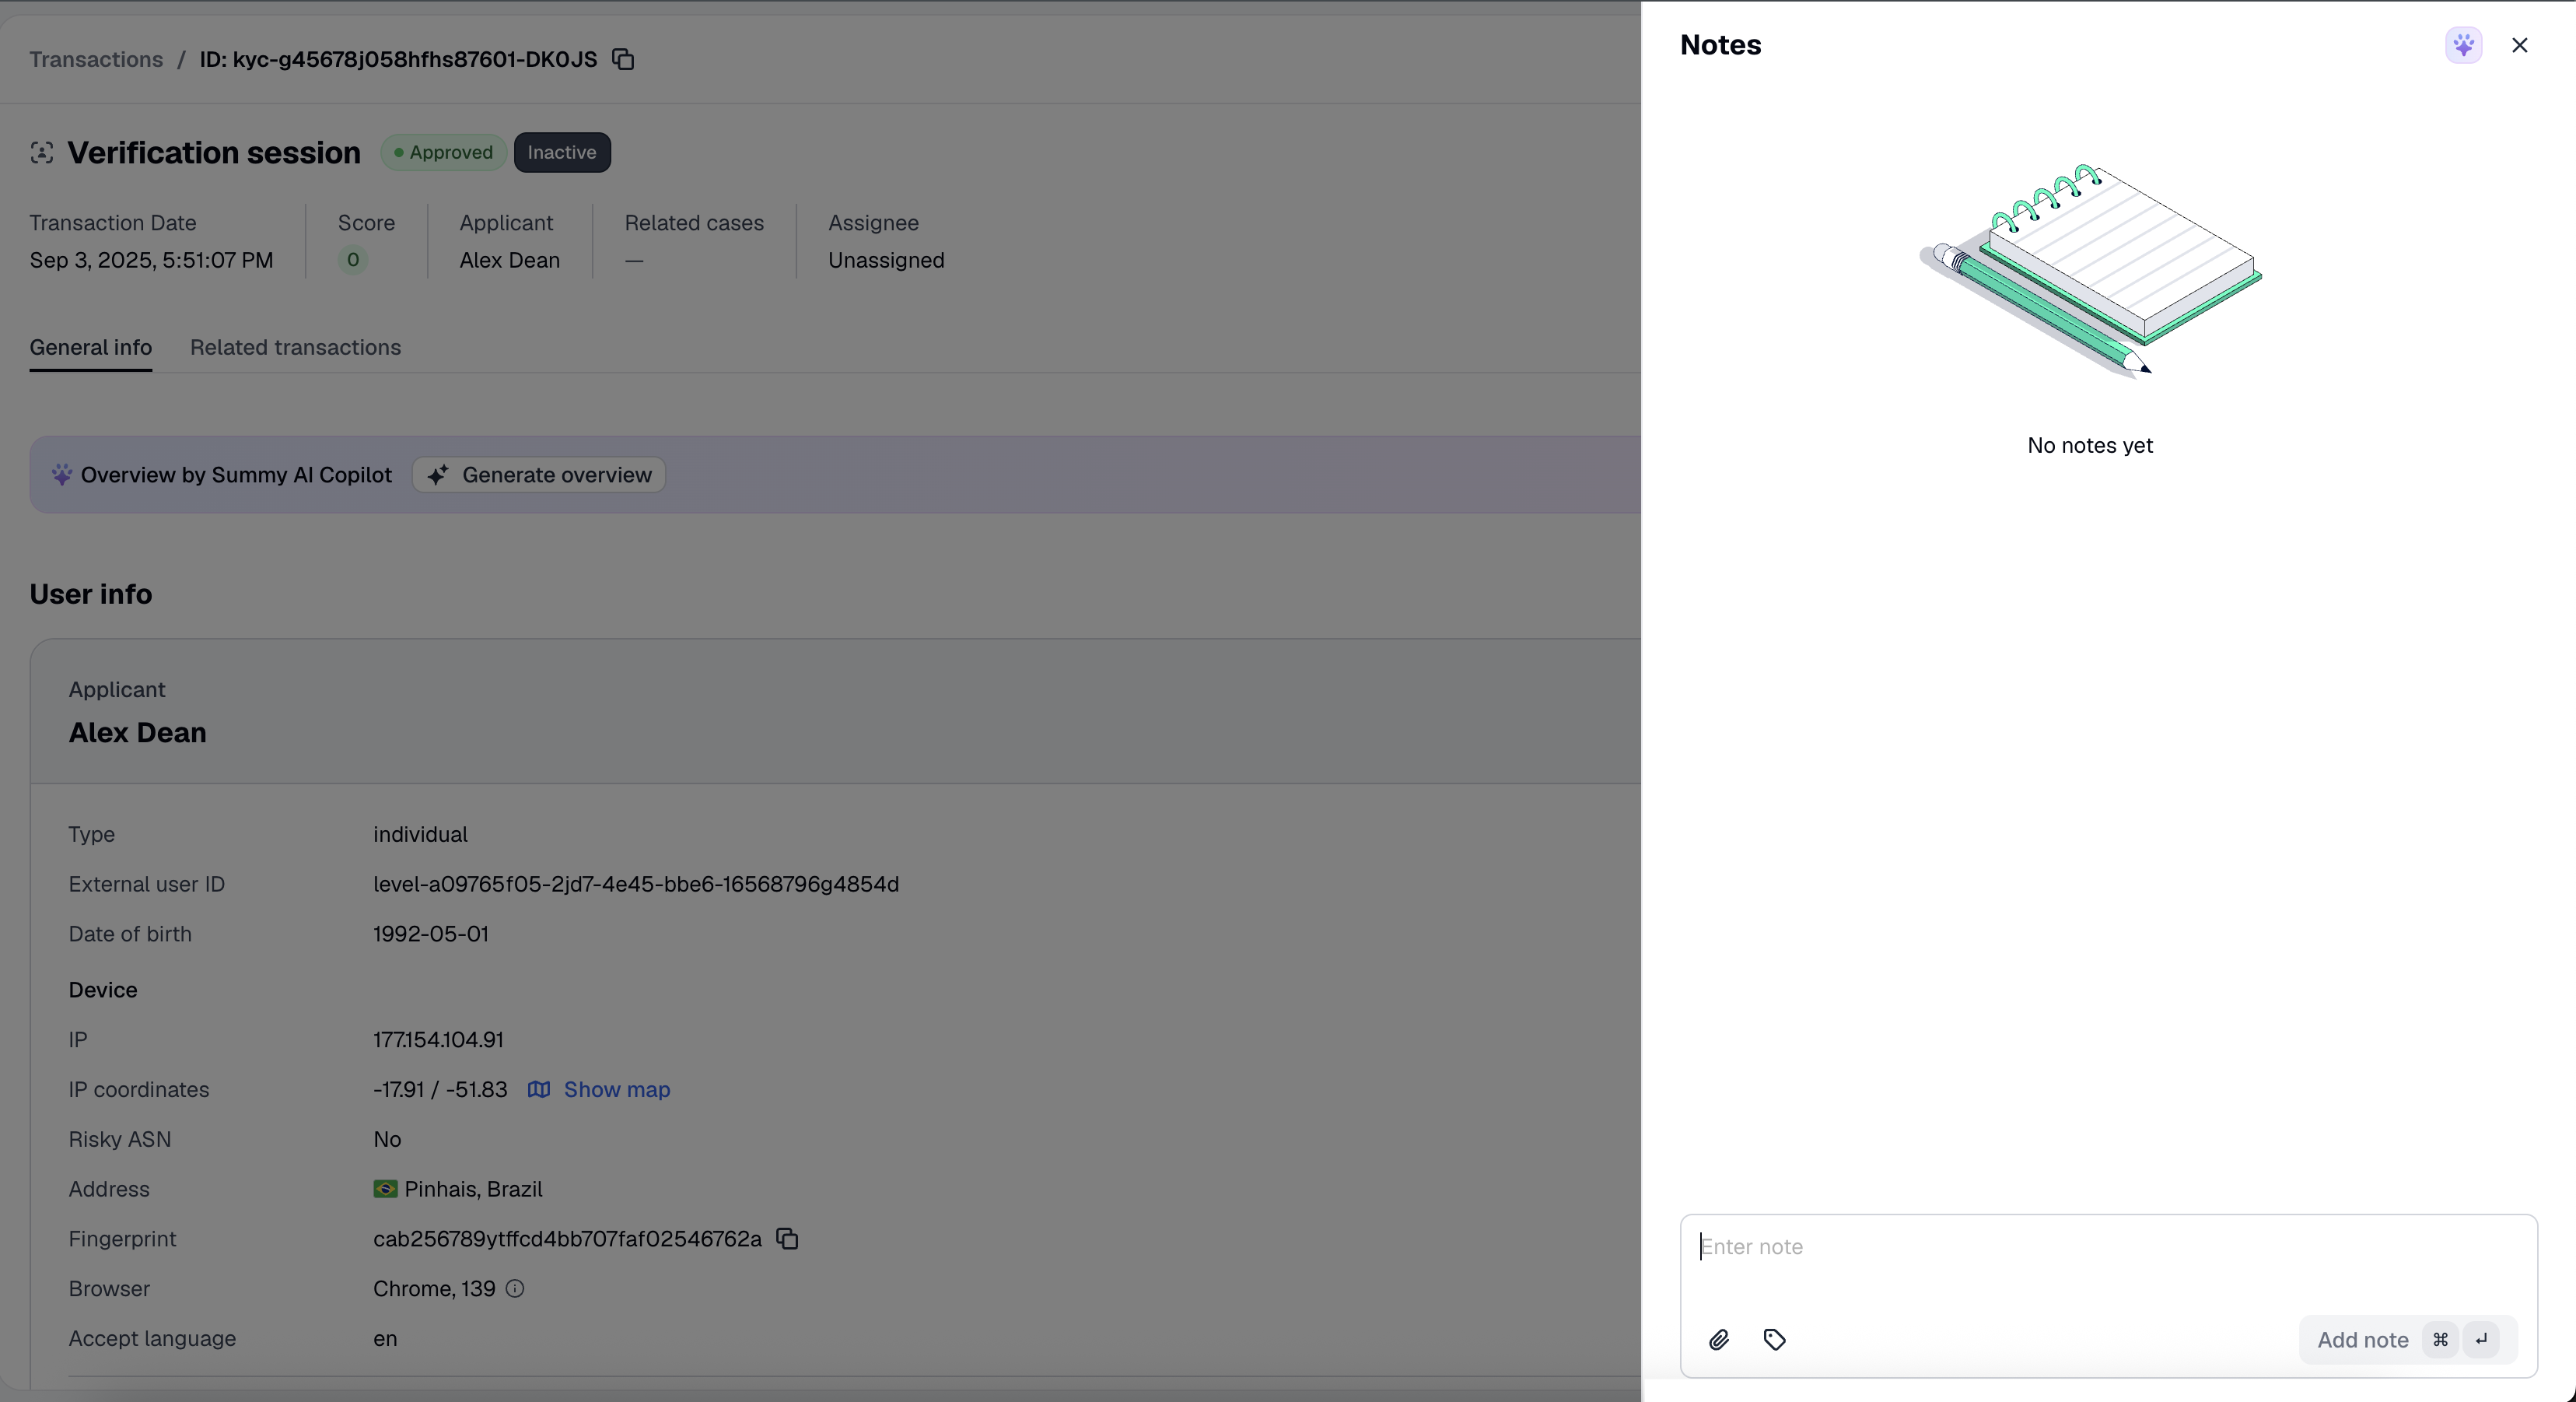
Add notes to transaction
You can add a free-text note to a transaction.
To add a note:
- In the Dashboard, navigate to the Transactions and Travel Rule section and open the list of all transactions.
- Open the transaction.
- In the Notes section, click Add note.
- This action requires the Manage TM transactions - Review permission.
- Alternatively, you can use this API method.
Add tags to transaction
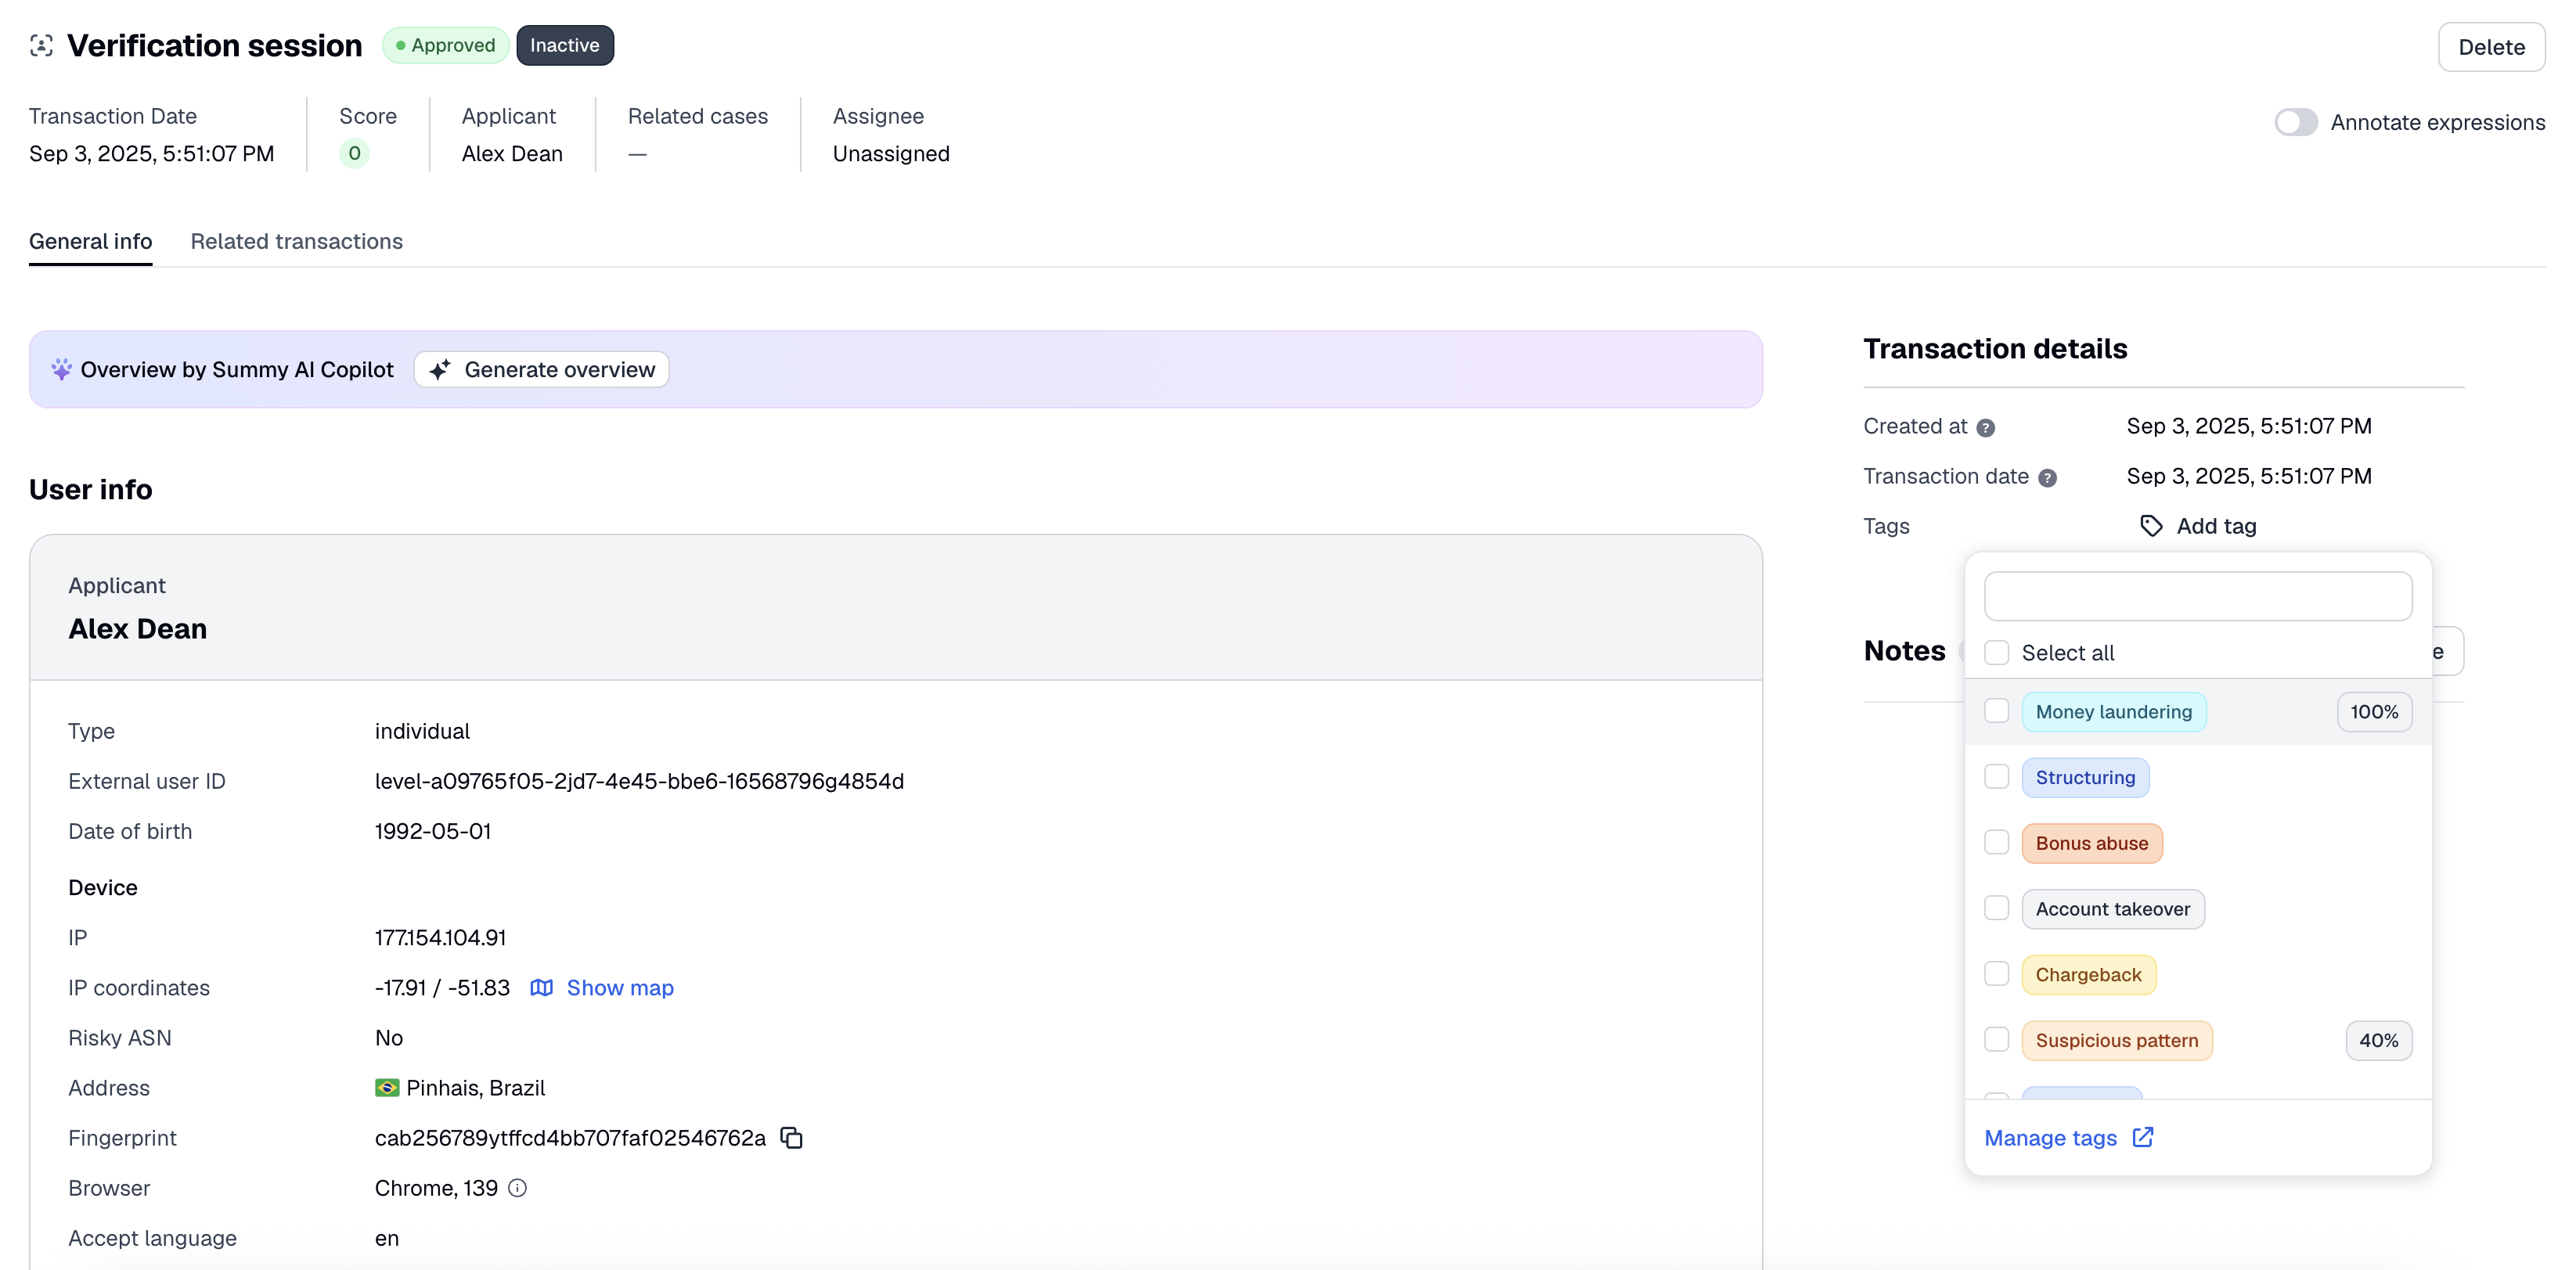
You can add one or more tags to a transaction. Before adding tags, you must configure tag labels in your settings.
To add a tag:
- In the Dashboard, navigate to the Transactions and Travel Rule section and open the list of all transactions.
- Open the transaction and select Add tag.
- This action requires the Manage TM transactions - Review permission.
- Alternatively, you can use this API method.
Edit transaction properties
You can add or remove custom property keys on a transaction.
To edit properties, you can use this API method.
Request example:
curl -X PATCH \
    'https://api.sumsub.com/resources/kyt/txns/631f268442d8290001e1eee8/props' \
    -H 'Content-Type: application/json' \
    -H 'X-App-Token: <your-app-token>' \
    -H 'X-App-Access-Sig: <your-signature>' \
    -H 'X-App-Access-Ts: <unix-timestamp>' \
    -d '{
          "customProperty": "New custom value",
          "customPropertyTwo": "Another custom value",
          "customPropertyThree": "One more custom value"
       }'
NoteThis method only updates the stored
props. The transaction's ownscore,scoringResult(matched rules), andreviewstatus are not recalculated, and the response still contains the previous result — even if a rule depends on the property you changed.
- Rules evaluated after this call, including aggregations, use the new
propsvalues.- To re-evaluate the patched transaction itself, call Rescore transaction.
This action requires the Manage TM transactions - Decisions permission.
Delete transaction
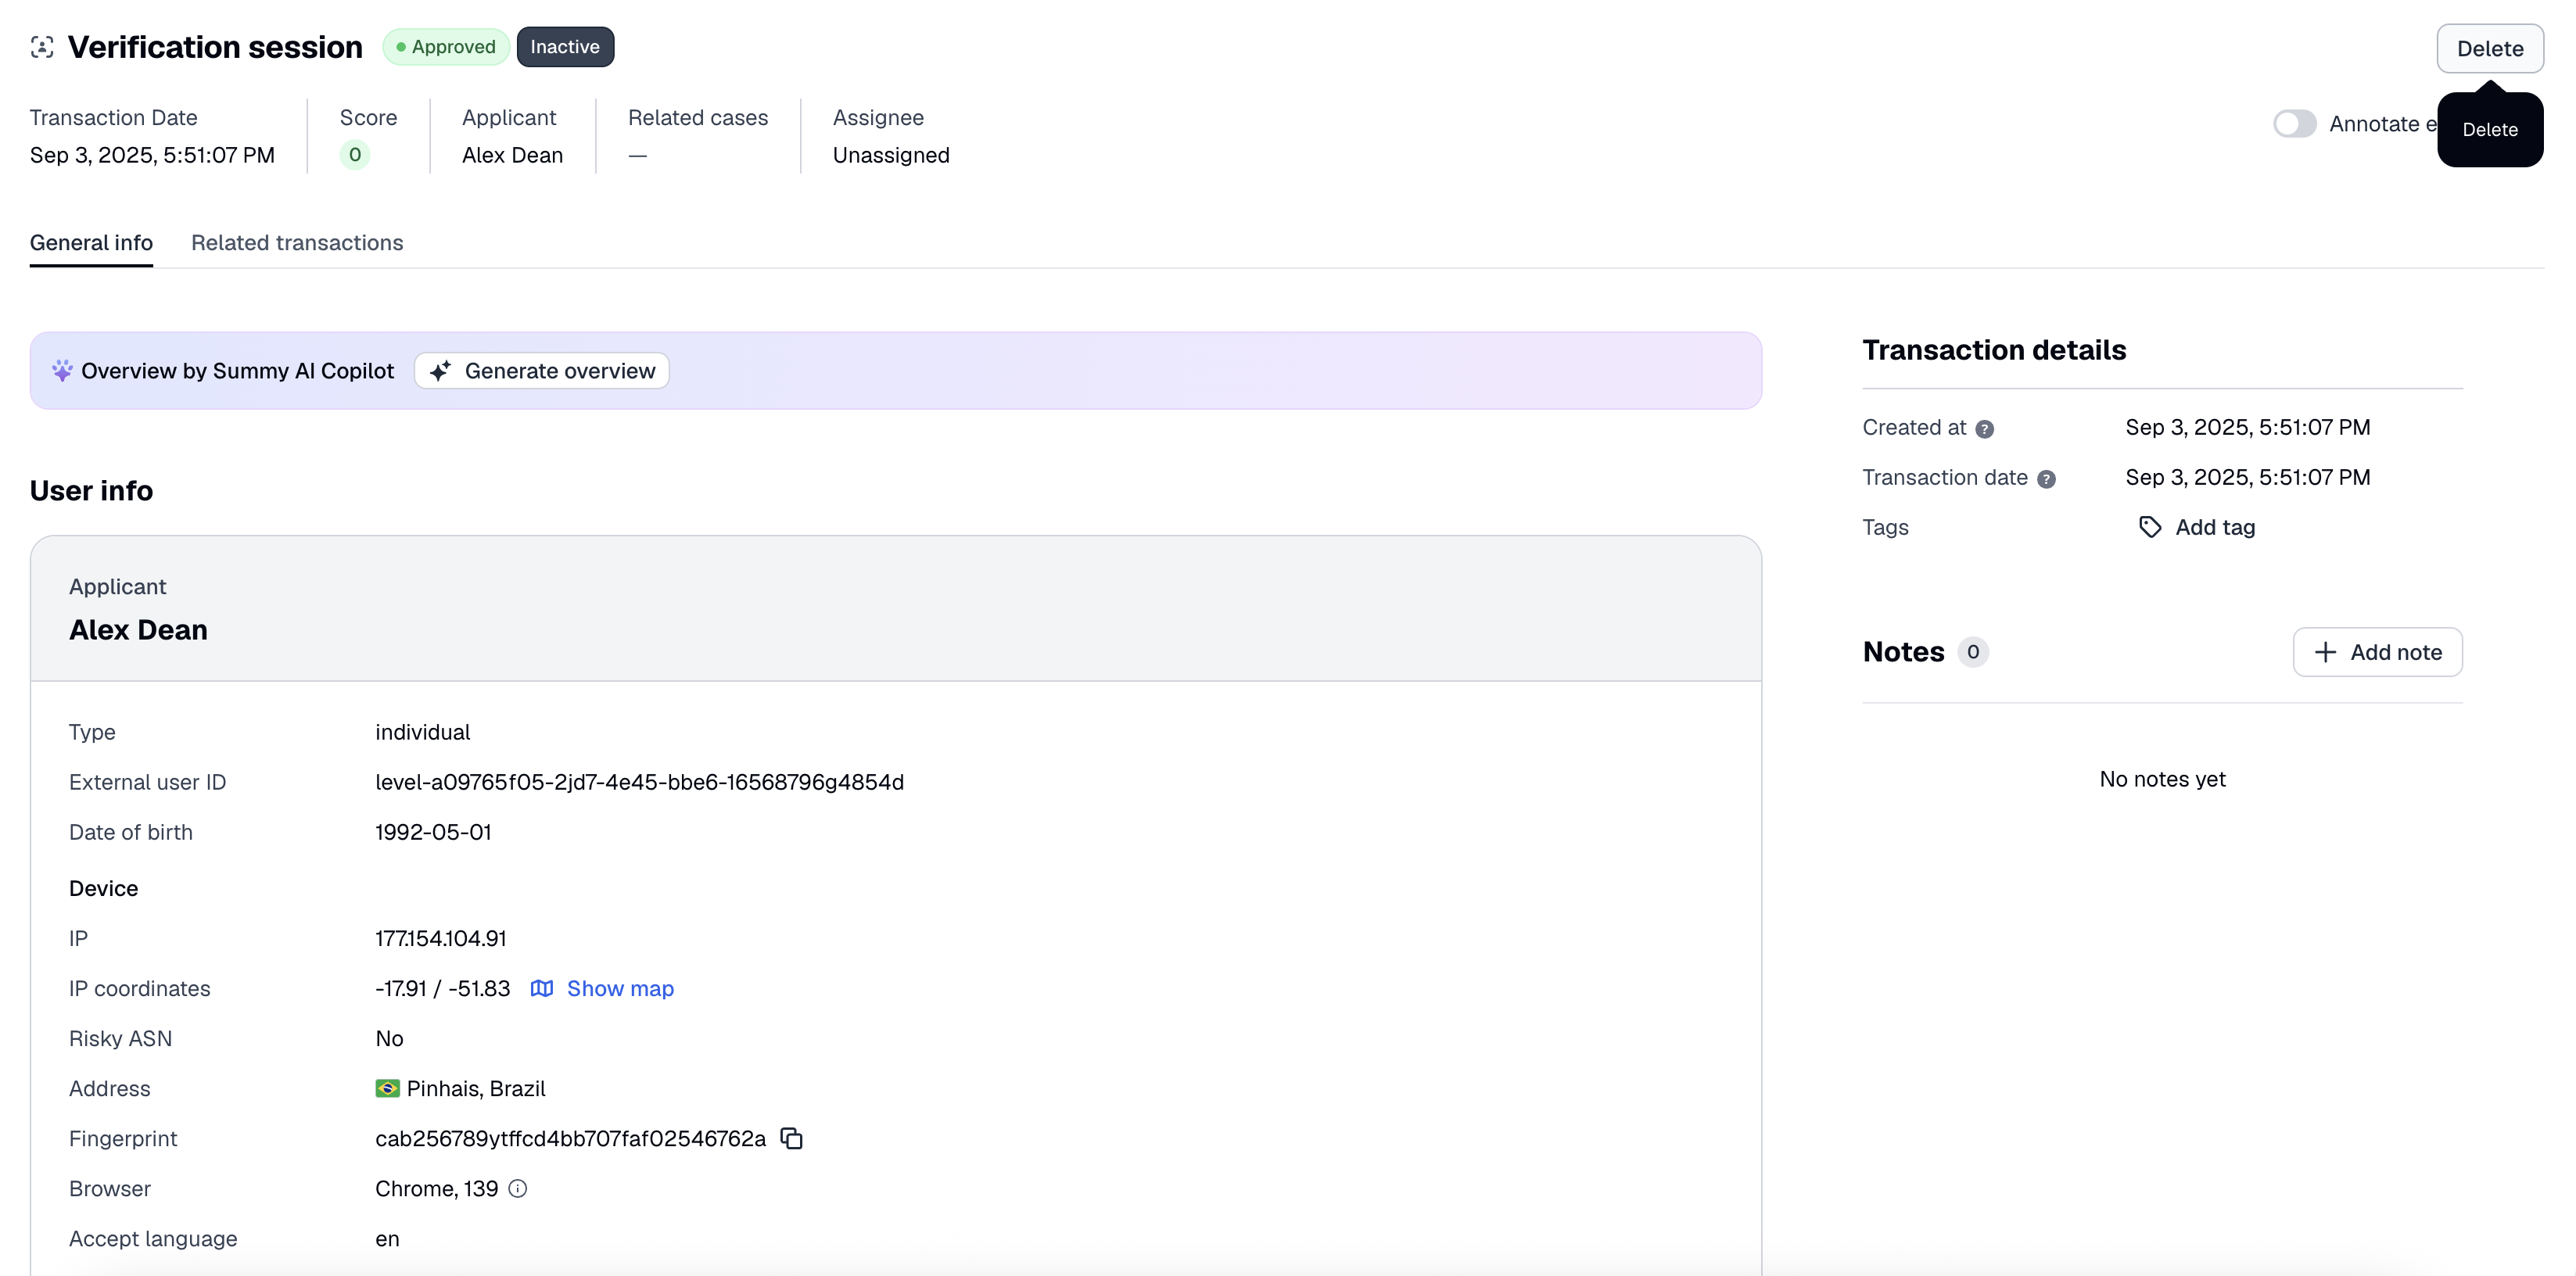
From the Dashboard, you can delete inactive transactions. Active transactions can be removed via the API only.
To delete an inactive transaction from the Dashboard:
- In the Dashboard, navigate to the Transactions and Travel Rule section and open the list of all transactions.
- Open the transaction and select Delete.
This action requires the Manage TM transactions - Decisions permission.
To permanently remove an active transaction and all related information, use this API method.
Send verification links
You can send verification links to the applicants who make transactions to request passing verification.
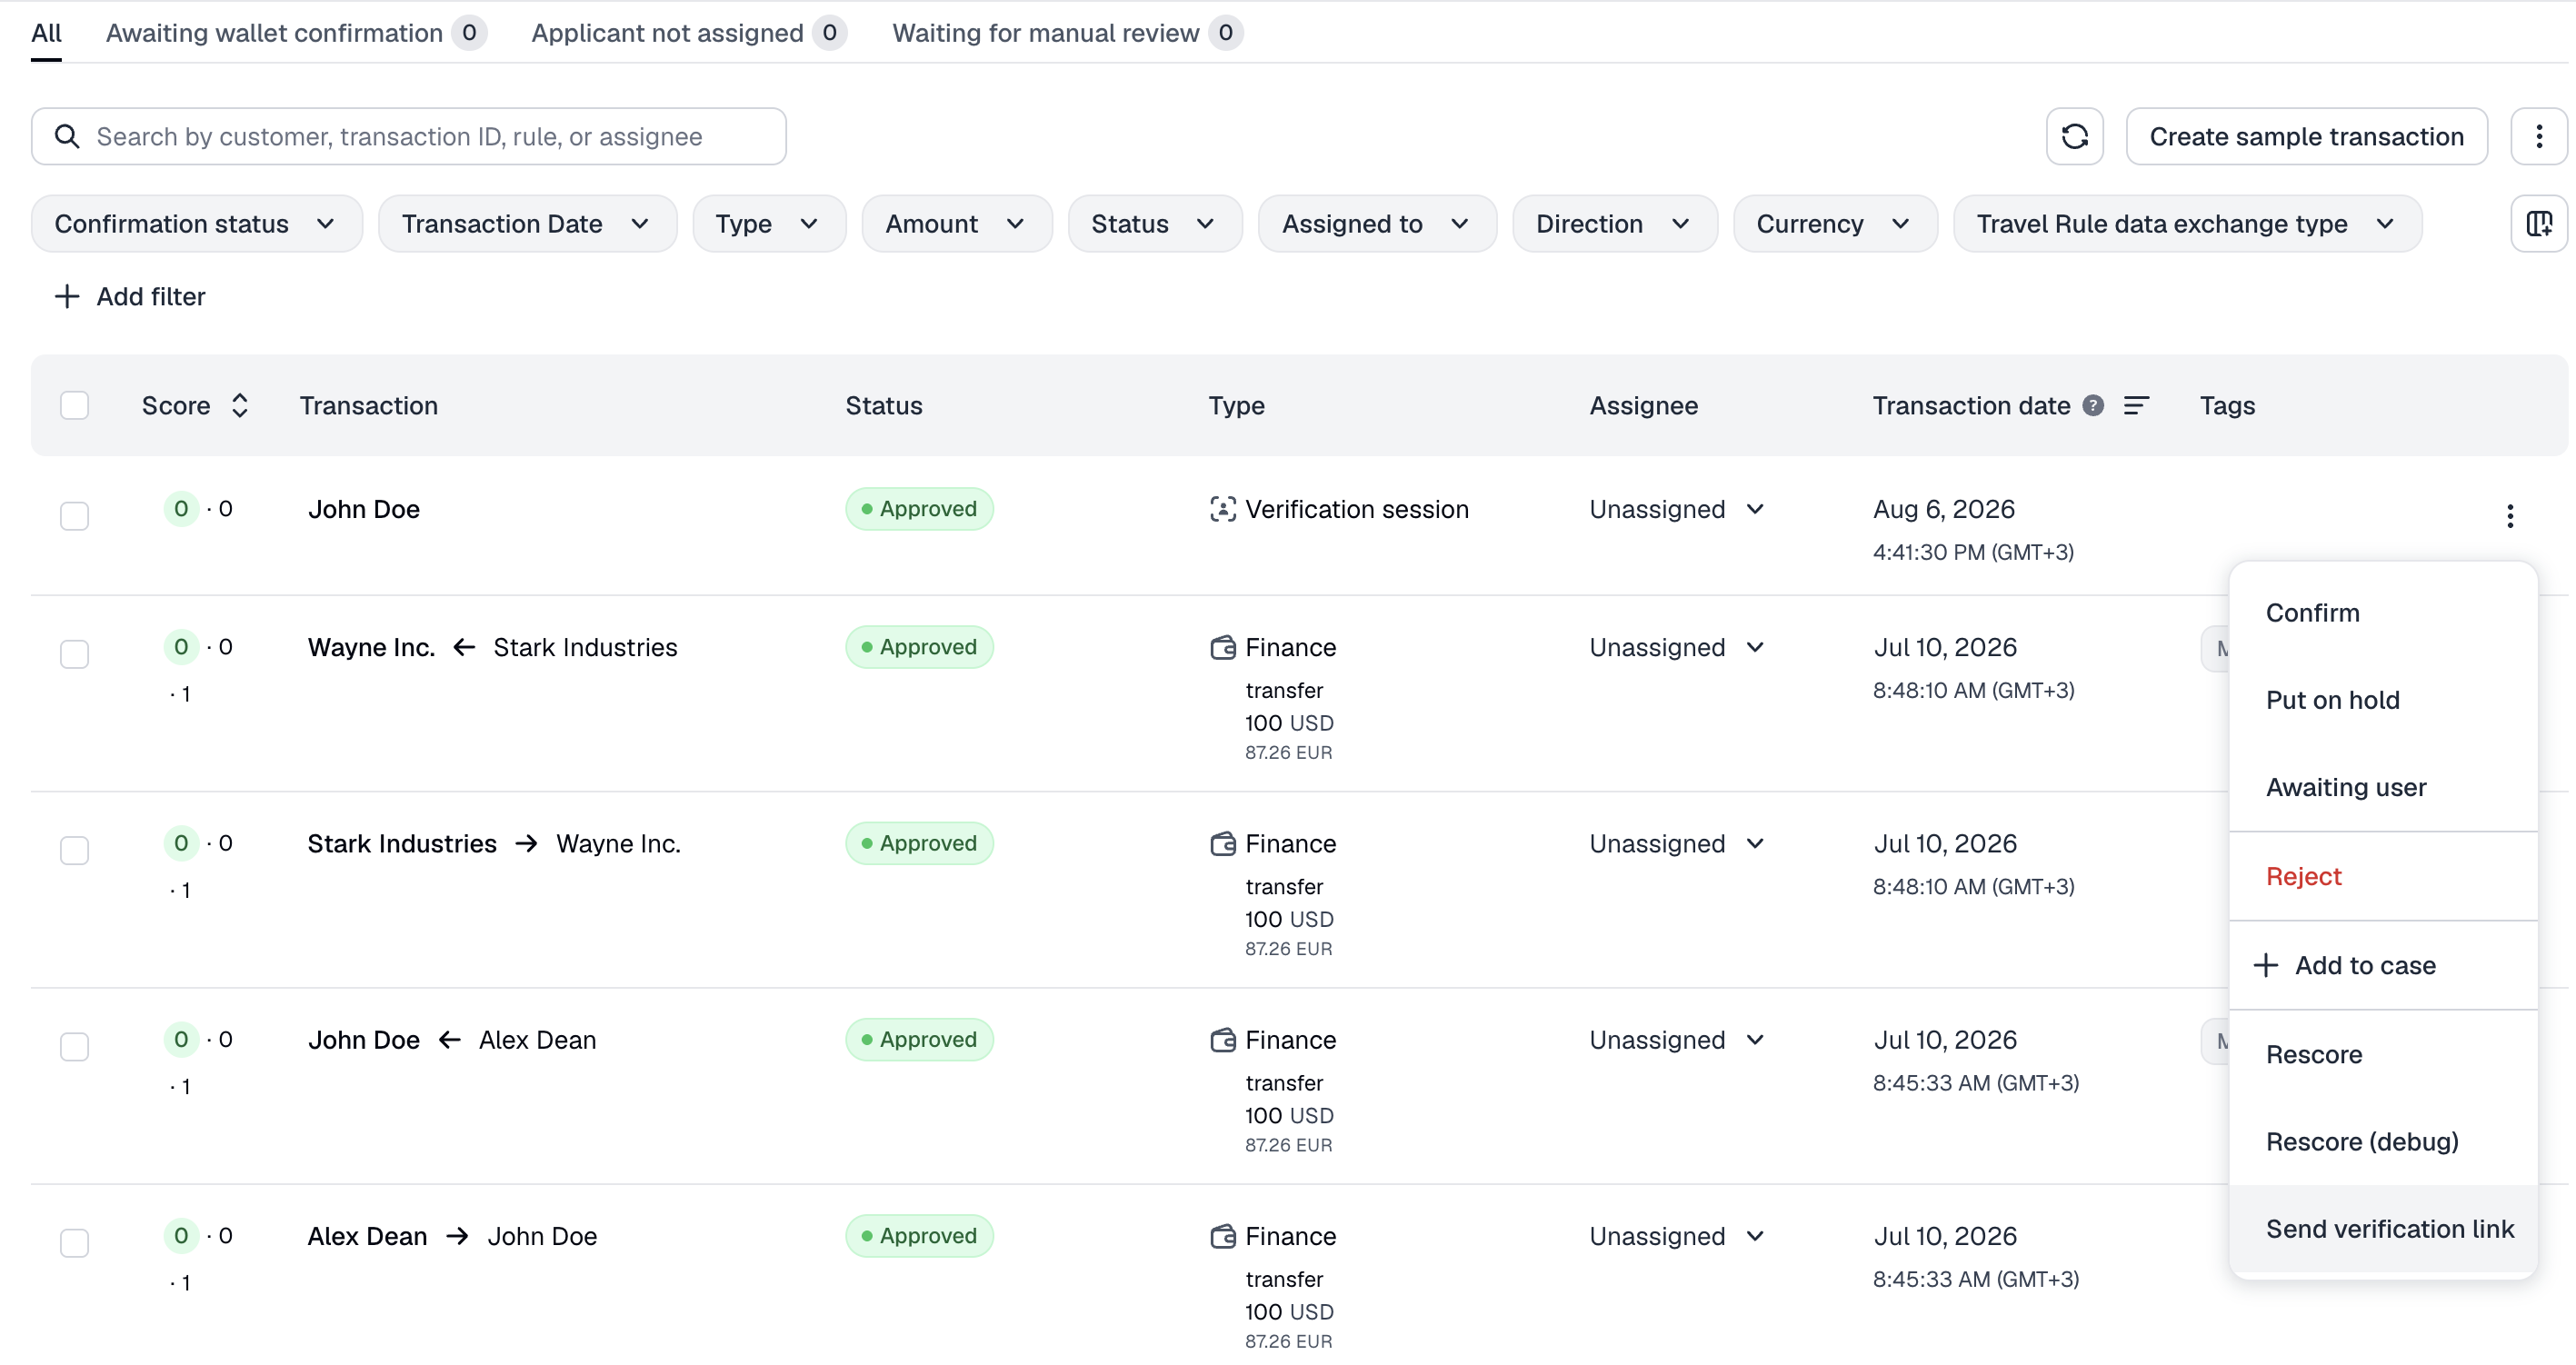
To send verification links:
- In the Dashboard, navigate to the Transactions and Travel Rule section and open the list of all transactions.
- Find an applicant profile to send the link and from the menu on the right, select Send verification link.
- In the pop-up window, select a verification level and click Send verification link. The link will be sent to an applicant via email, and they will need to follow the link to pass verification.
NoteYou cannot send a verification link to an applicant if there is no email address indicated in their profile.
Updated 11 days ago