Questionnaire
Use Sumsub questionnaires to collect additional applicant details for pre-KYC checks or other stages.
Questionnaires let you collect additional information about your applicants, particularly those in the realms of businesses, traders, and owners of crypto wallets.
Key benefits
- Tailored Information Collection
Questionnaires allow you to create customized sets of questions tailored to the specific requirements of your application process. This ensures that you gather the information that matters most to you and your organization. - Code-Free Workflow Builder
Enjoy the flexibility of managing questionnaires without the need for coding. Our intuitive, code-free workflow builder allows you to seamlessly juggle between different questionnaires and set up dynamic workflows on the go. This empowers you to call specific questionnaires at any moment, effortlessly adapting to evolving requirements. - Enhanced Compliance
For industries with stringent compliance requirements, questionnaires offer a structured approach to gather necessary information, ensuring that you meet regulatory standards. This feature simplifies the compliance process and aids in maintaining a robust and transparent application procedure.
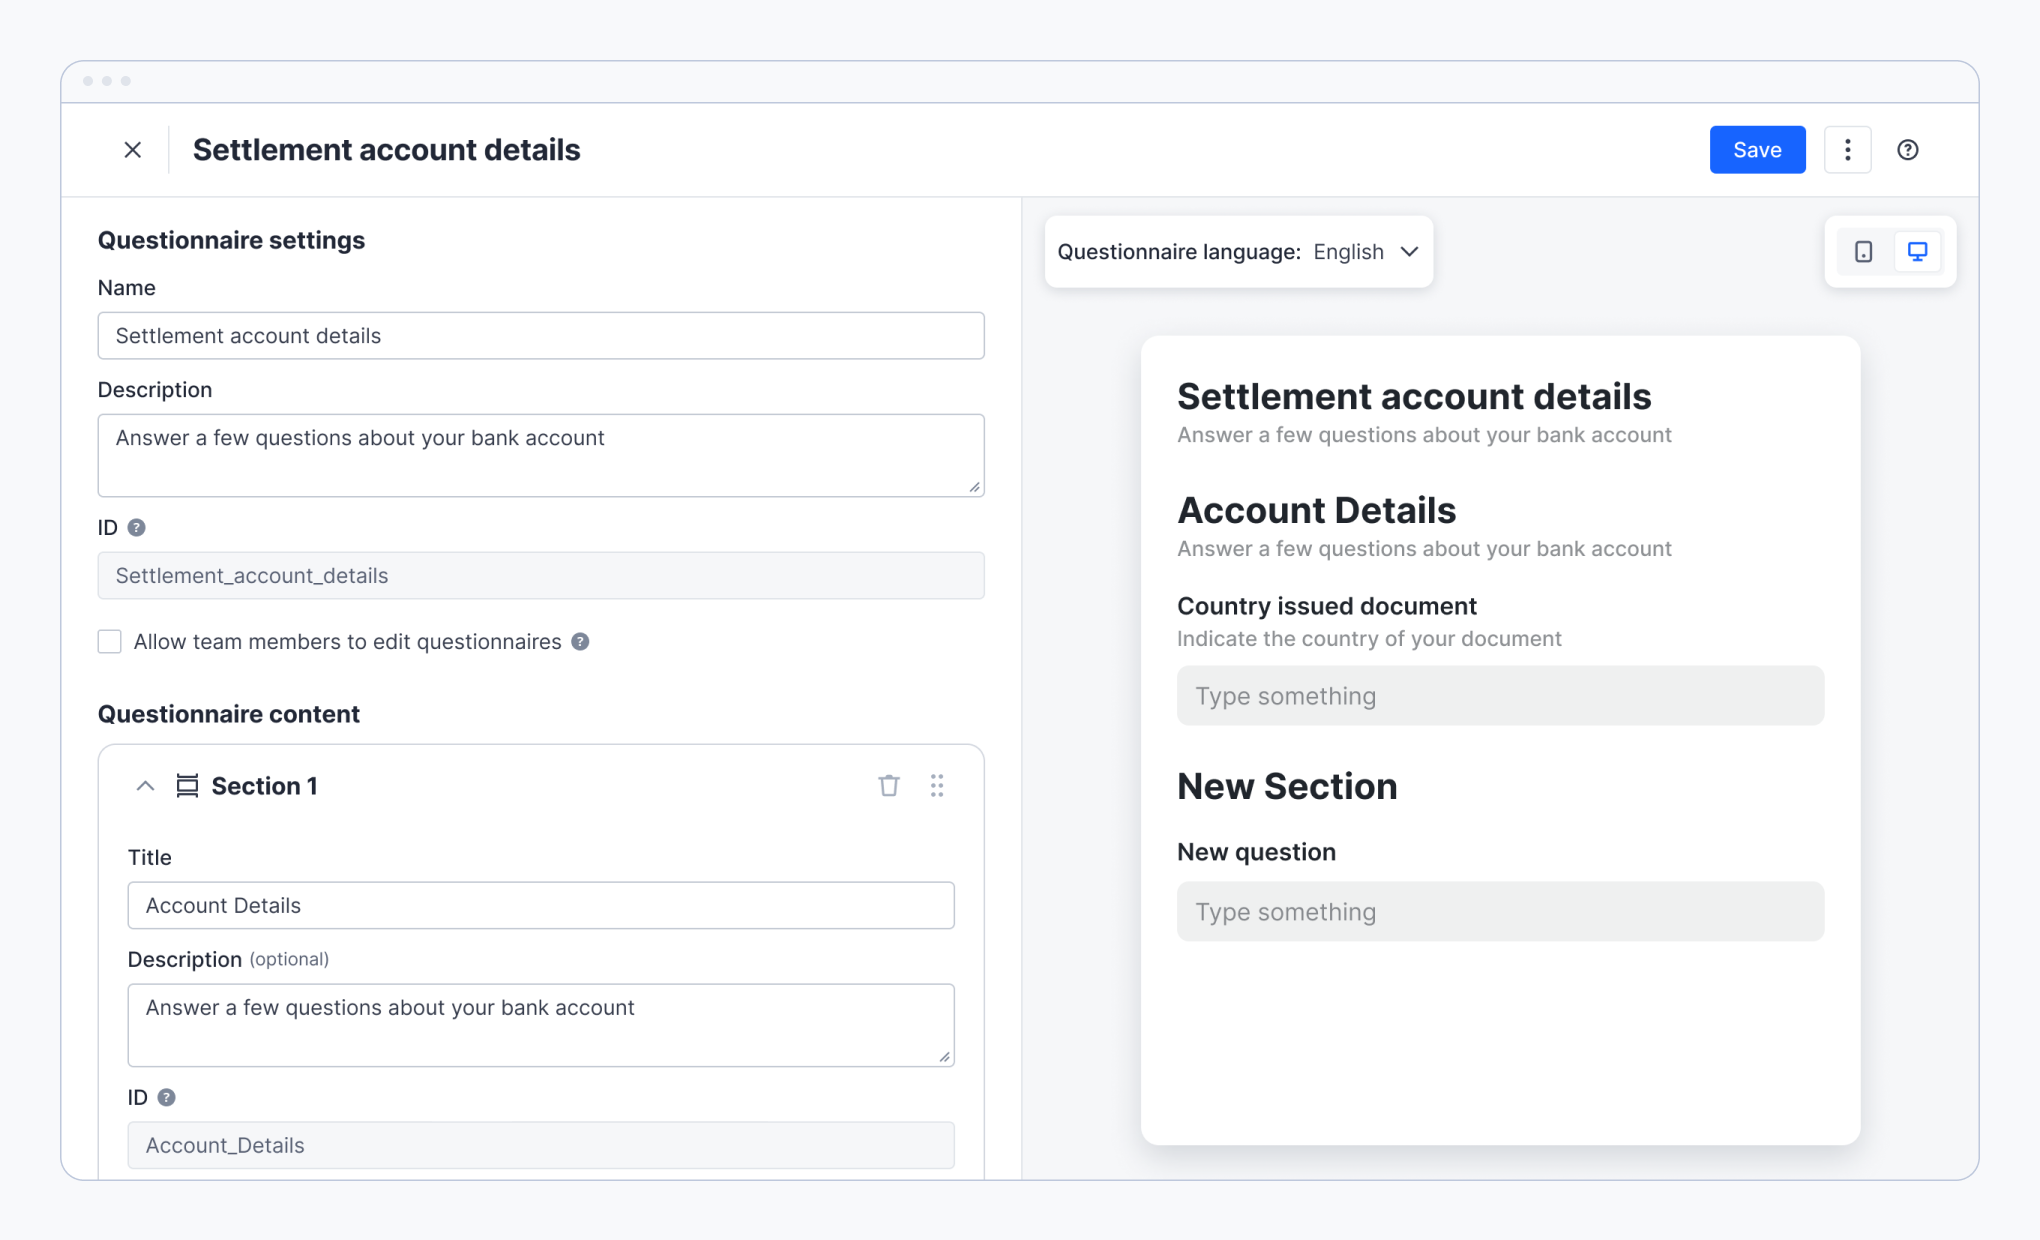
Effortlessly customize and run questionnaires with our intuitive no-code settings in the Dashboard
Use cases
You can use questionnaires for the following purposes:
- Collecting Source of Funds (SoF) Data: Gather detailed information about the source of funds for the applicant.
- Collecting Basic KYC Data: Obtain fundamental Know Your Customer (KYC) details for a comprehensive applicant profile.
- Collecting Onboarding KYC/KYB Data: Streamline the onboarding process by collecting necessary KYC/KYB information.
- Determining PEP/HIO Status: Identify if the applicant is a Politically Exposed Person (PEP) or Head of International Organizations (HIO).
- Determining Trading Experience: Assess the applicant's level of experience in trading activities.
- Gathering Financial Details (Annual Income/Net Worth): Obtain information about the applicant's financial status, including annual income and net worth.
- Identifying SoF (Source of Funds)/SoW (Source of Wealth) Details (Salary/Real Estate/Investments): Specify the source of funds and wealth, including salary, real estate, and investments.
- Identifying Transaction Amounts: Determine the typical transaction amounts associated with the applicant.
- Defining the Beneficiary when Acting on Someone's Behalf: Collect details about the beneficiary when an applicant is acting on behalf of another entity or individual.
- Gathering SoF (Source of Funds)/SoW (Source of Wealth) Details: Further refine the details related to the source of funds and wealth for a comprehensive understanding.
No code
Updated 5 months ago
Did this page help you?