About Case Management
Run all your KYC and Transaction Monitoring investigations in one place from alerts to resolution.
Sumsub allows you to create cases for investigation using the selected criteria and assign them to dedicated compliance officers for further processing.
In a case, you can combine specific applicant data such as AML matches, payment methods, user platform events, similar transactions indicative of suspicious activity, and many more.
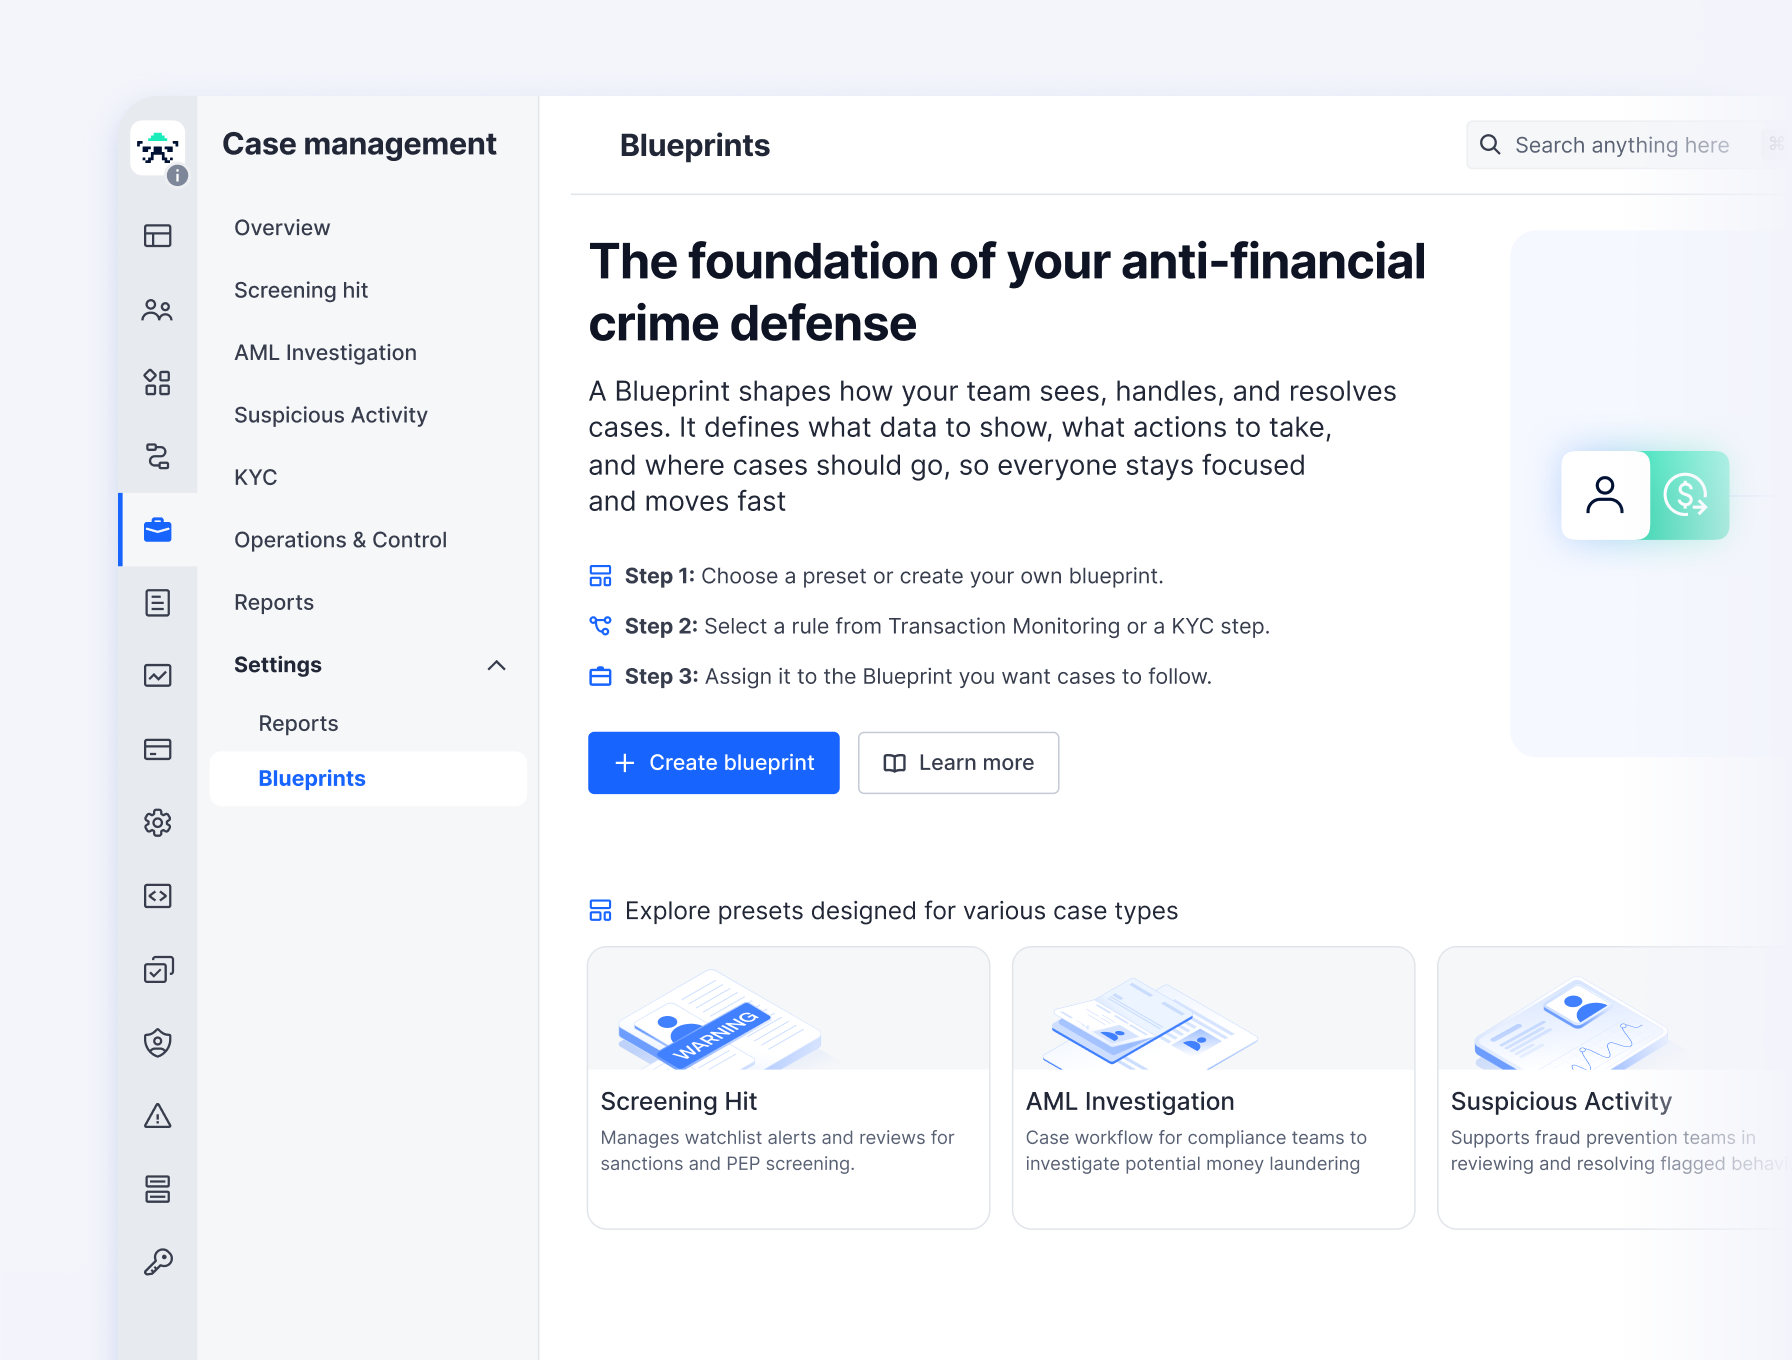
When a case is created, it is assigned a blueprint that outlines specific processes and workflows for it.
Benefits of Sumsub Case Management
Our Case Management solution offers the following benefits:
- Automation. The data is combined into a case and sent to the selected officer’s queue automatically, which reduces operational costs and improves detection accuracy for various types of financial crimes.
- Prioritization. Using blueprints allows high-risk cases to receive immediate attention from trained staff who can conduct a more in-depth review.
- Data availability. All data is accumulated in one place, and all applicants' properties and context are stored on one page.
- Escalation options. Cases can be escalated based on blueprints and transferred between the officers and teams without any errors or miscommunication.
- Specialization. You can use blueprints to designate specialized teams for handling escalated cases. These teams may consist of experts in fraud detection or compliance who have the skills necessary to navigate complex situations and make informed decisions.
- Record keeping. A well-structured blueprint includes documentation and reports of the case processing.
Compliance. Blueprints can be quickly updated to ensure compliance with current laws and standards.
How Sumsub Case Management works
The case management process includes the following steps:
- Set up blueprints and assign the officers to work with them.
- Enable automated case creation in the Rule manager and/or Workflow Builder.
- Review and resolve cases and generate reports.
NoteAML cases are available in a separate dashboard. For more information, follow the Review AML Cases link below.
Create regulatory reports
Updated 4 months ago